Prepare a document and fill text frames
Open or create an .indd document. Set up text frames, image rectangles, and paragraph or character styles in InDesign as you want them to appear. The plugin fills content into your prepared layout; review the page afterwards for overset text or images that need adjusting. The insertion controls in the plugin are clicked—they are not drag-and-drop controls.
Copy a placeholder
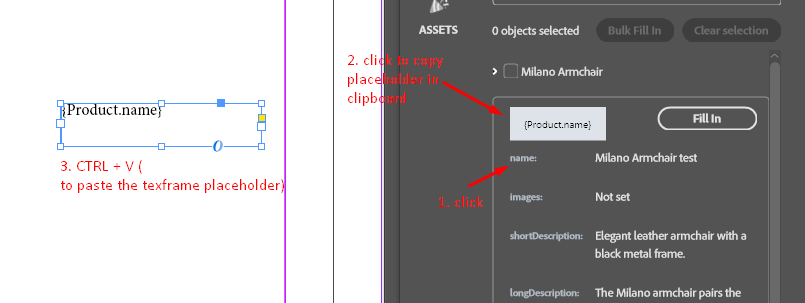
1. In OBJECTS, open the class and expand the object whose data you want to use.
2. Click the attribute name. In the menu that opens, click the placeholder to copy it.
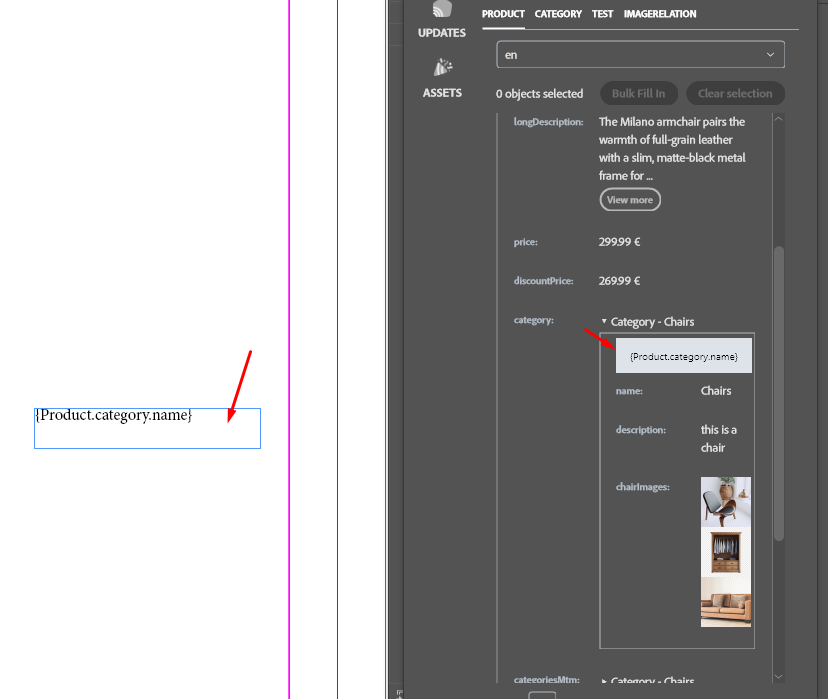
3. Paste the placeholder where the value should appear in an InDesign text frame. Keep fixed labels outside the braces, for example Category: {Product.category.name}.
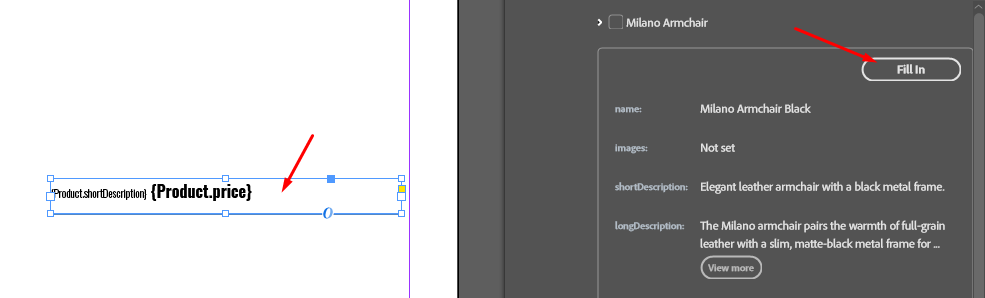
4. Select the relevant frame and click that object’s Fill in. The plugin replaces the placeholders it can resolve with the chosen object’s values.
A direct attribute uses {Class.Attribute}, for example {Product.name}. A related attribute uses {Class.Relation.Attribute}, for example {Product.category.name}. Copy the placeholder from your panel rather than assuming that the sample field names or their capitalisation match your configuration. The related object and its attribute must be exposed in GraphQL to supply a value.
| Text in the frame before filling | Example Pimcore value | Result |
|---|---|---|
{Product.name} | Product.name = Milano Armchair | Milano Armchair |
Category: {Product.category.name} | Related category.name = Chairs | Category: Chairs |
An expanded related object may also have its own Fill in control. Use it when you want to fill that related object’s content specifically; use the Product’s Fill in for Product placeholders and related values referenced from that Product. If an expected value does not fill, check the selected object, the placeholder spelling, and the fields exposed by the connection.
Apply a paragraph style to a text-frame placeholder
Apply the paragraph style to the placeholder before filling it. The inserted value uses that style, and the style remains applied when you later update the value.
1. Copy a text placeholder from OBJECTS, for example {Product.name}, and paste it into a text frame in your InDesign document.
2. Click inside the paragraph containing the placeholder. Open Window > Styles > Paragraph Styles and choose the paragraph style you want to use.
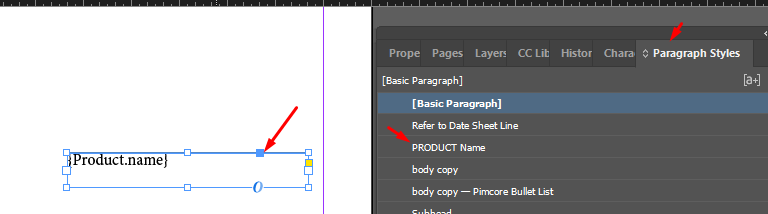
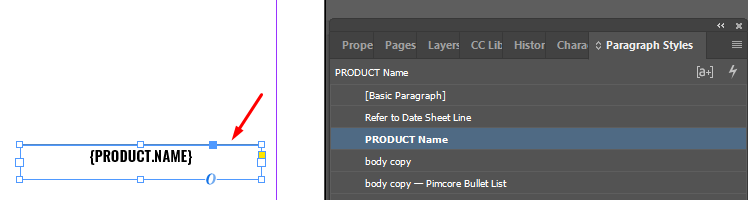
3. Select the text frame. In OBJECTS, click the object’s Fill in. The placeholder is replaced with the Pimcore value, and the paragraph keeps its applied style.
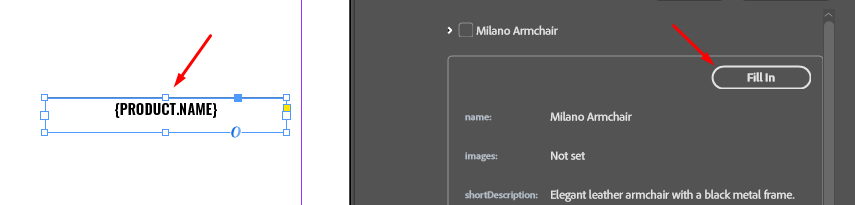
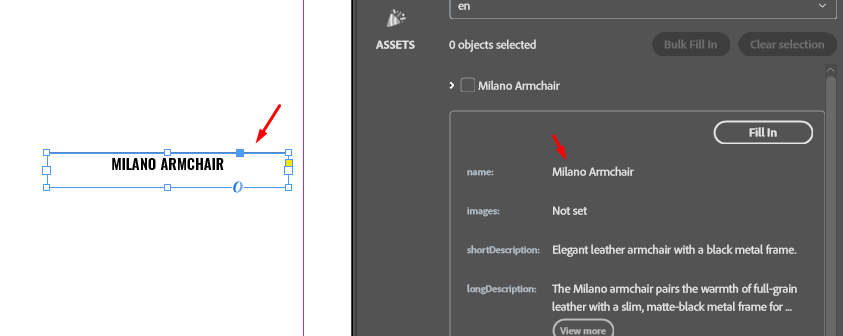
4. When the Pimcore value changes, click Check Updates and apply the change in UPDATES. The new value keeps the paragraph style already applied to that frame; you do not need to reapply it. Review the frame for overset text after updating.
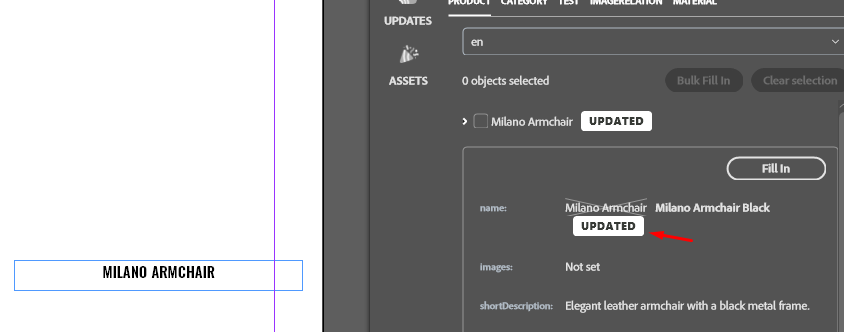
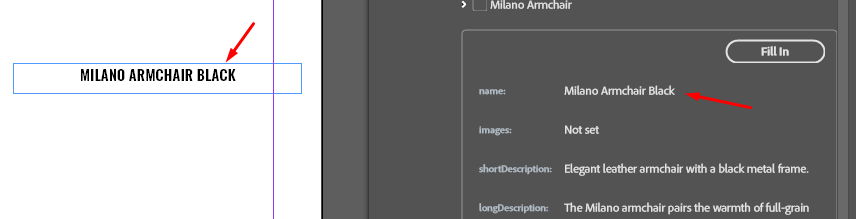
For example, if {Product.name} has the PRODUCT Name paragraph style, Fill in might replace it with Milano Armchair. If the source name later changes to Milano Armchair Black, applying the update changes the words but retains the PRODUCT Name style. Use the actual placeholder and style name from your document.
Apply character styles to multiple placeholders on one line
Use character styles when multiple placeholders share a paragraph in the same text frame but need different formatting. A paragraph style affects the entire paragraph; a character style can be applied to just one placeholder.
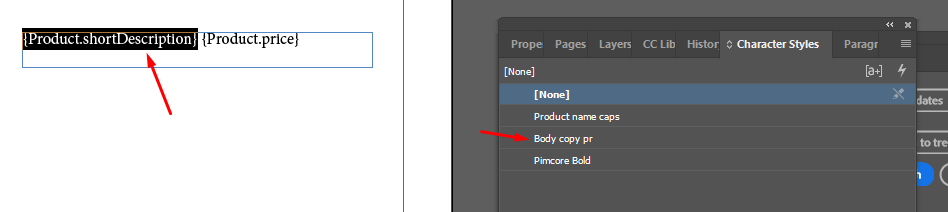
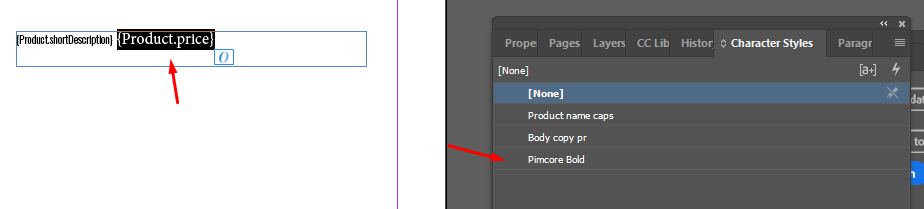
1. Copy multiple text placeholders from OBJECTS into the same text frame, on one line. For example, enter {Product.shortDescription} {Product.price}. In the screenshots, shortDescription receives the Body copy pr character style and price receives Pimcore Bold. Use placeholder names available in your connection.
2. With the Type tool, select the entire first placeholder, including its braces, but not the space or separator. Open Window > Styles > Character Styles and click the style you want for that value.
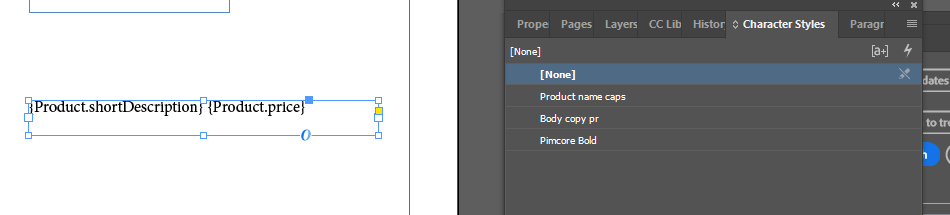
3. Select the entire second placeholder, including its braces, and apply a different character style. If you also need a paragraph style, apply it to the line first; the character styles control only the selected portions.
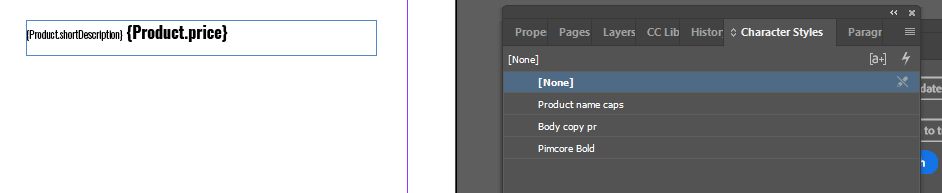
4. Select the text frame and click the object’s Fill in in OBJECTS. Each inserted value uses the character style applied to its placeholder; the separator stays between them.
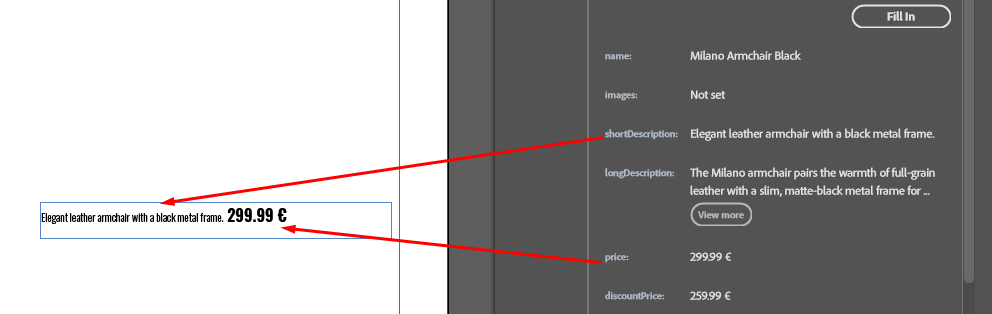
5. If a source value changes, click Check Updates and apply the change in UPDATES. Check that the updated value still has its character style and that the longer text fits the frame.
Fill several objects
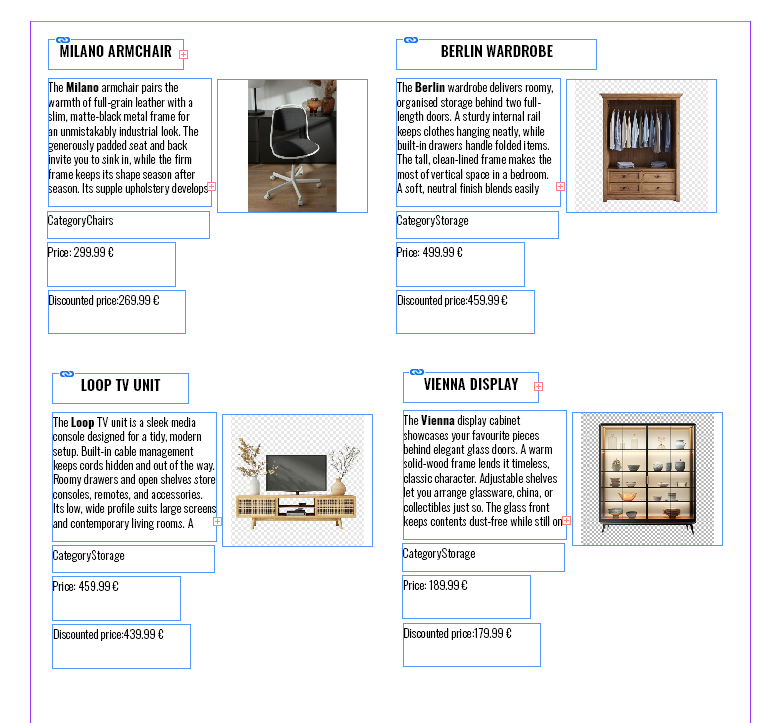
Group the placeholders for each object first. In InDesign, group the text frames containing all placeholders for one object. For example, group a Product’s name, image, description, and price placeholders together. Repeat this for every Product so that each group represents one Product. Then select and order the Products in the plugin before using Bulk Fill In.
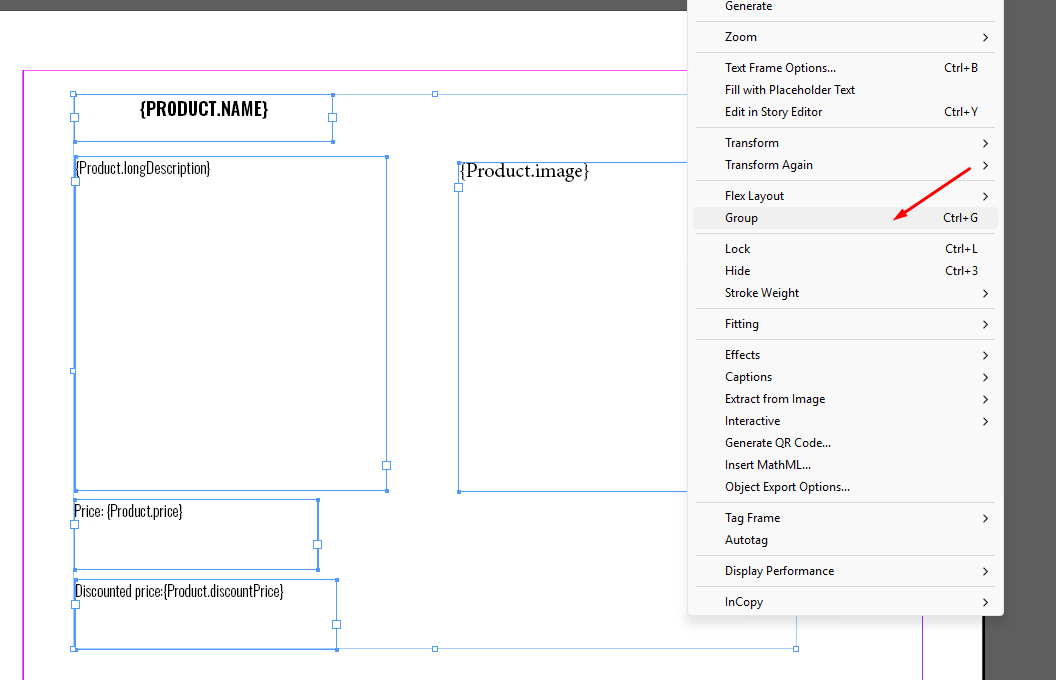
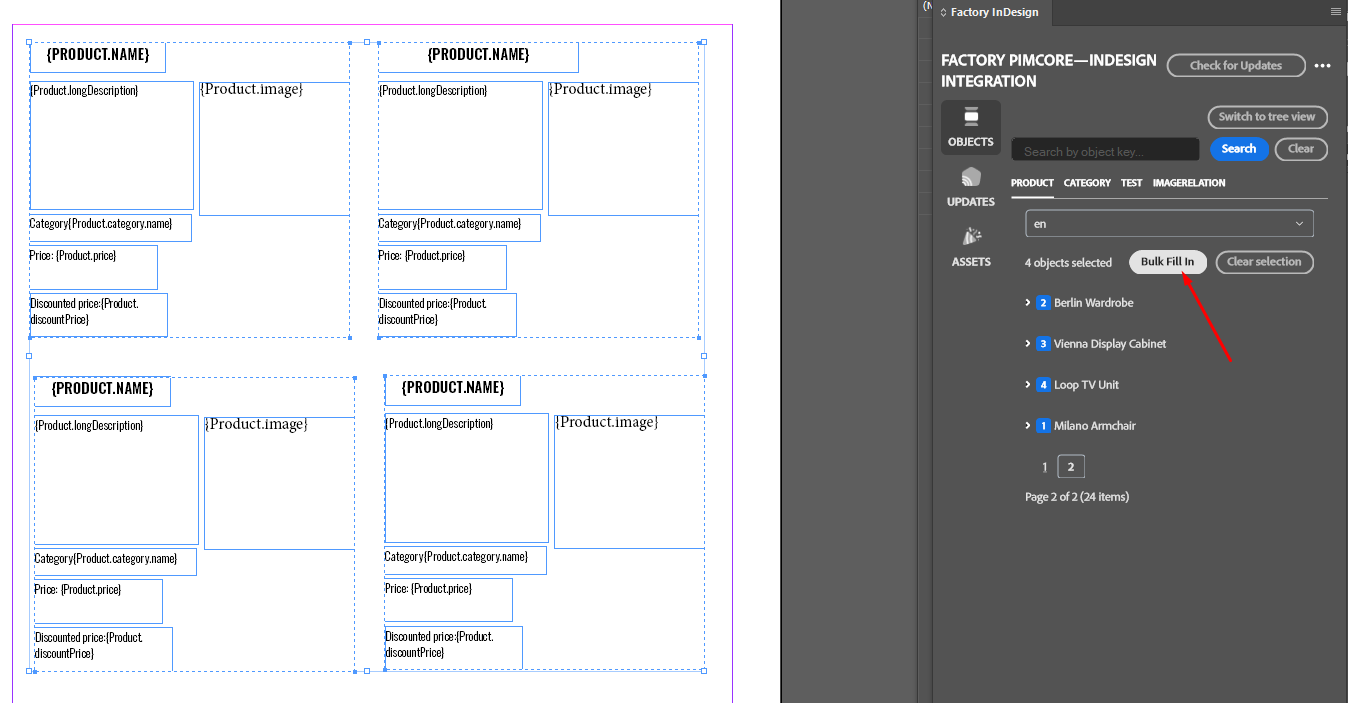
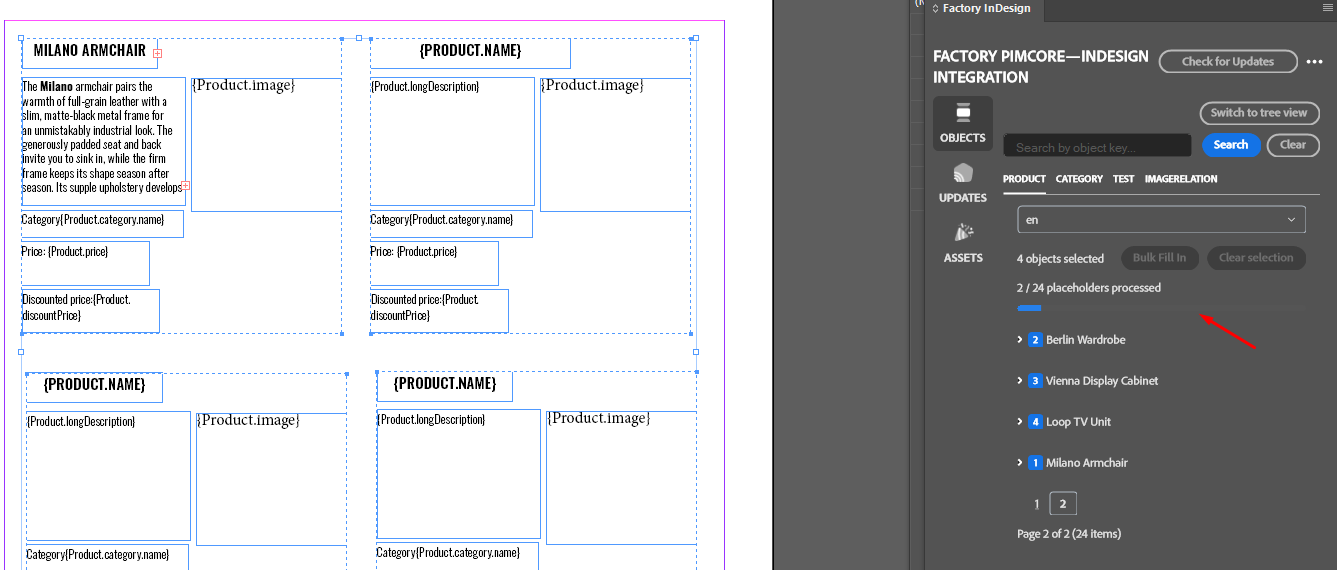
For a layout containing several products, prepare the corresponding text frames for each product. In OBJECTS, select the products in the order you want to fill them; the panel shows the selected-object count. Select the corresponding prepared frames in InDesign and click Bulk Fill In. Check that each product’s values landed in the correct frame or group. Use Clear selection before starting another selection.
Use the panel’s Order function to arrange the selected objects in the sequence you want. When you bulk-fill multiple objects on a spread, the plugin starts with the placeholder text frames on the left page, working left to right across the first row, then moves to the second row and again works left to right, continuing until the selected placeholder text frames are filled. Keep text frames that belong to the same row at the same height. If the frame on the right sits higher than the one on the left, the right-hand frame can be filled first even though it appears later horizontally, making the object order seem wrong. Align the frames before running Bulk Fill In.
Bulk Fill In works one spread at a time. Repeat the selection and fill process for each spread; you cannot bulk-fill an entire catalogue in one action.
To fill images with Bulk Fill In, put each image placeholder in a text frame, not in a rectangle. Bulk Fill In fills text-frame placeholders, including image placeholders; it does not place images into selected rectangle shapes. To fill a rectangle, use the asset-level or image-thumbnail action in the next section.
Fill tables from Pimcore fields
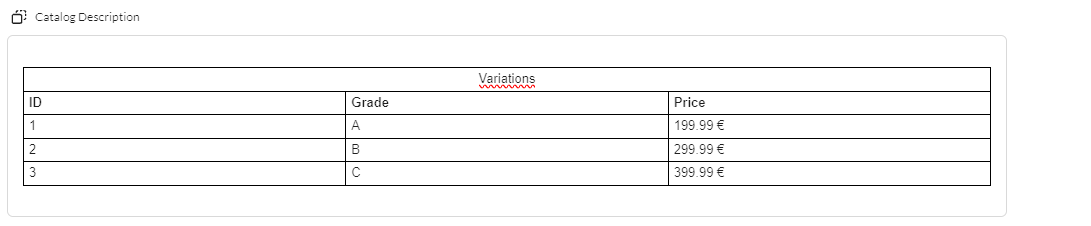
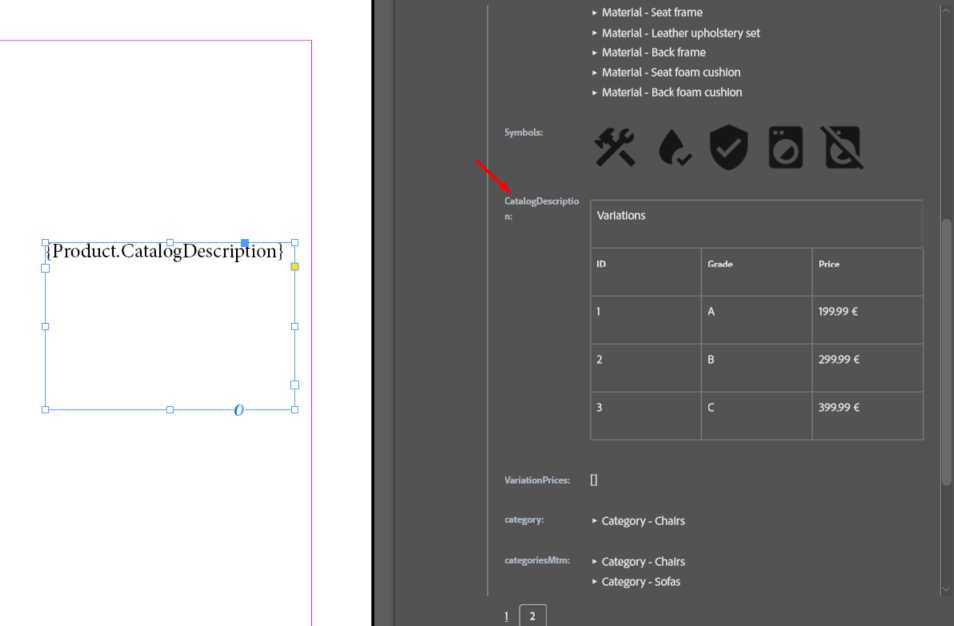
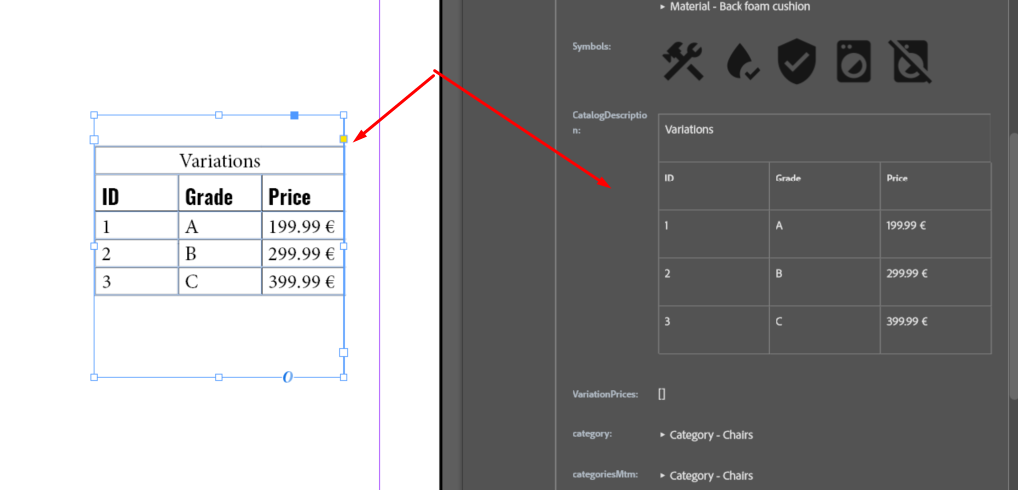
Copy the placeholder for a Pimcore Table field, or a WYSIWYG field containing a table, into a text frame. Use Fill in or Bulk Fill In to place its rows, columns, and cell content. You can style the table and its cells in InDesign. When the source changes, fill it again or apply the change in UPDATES; existing styles remain, and new rows and cells use consistent formatting.