What to avoid when submitting mobile app to iTunes
Finishing the iOS development of your new awesome app is always exciting but often also a stressful time in the development cycle of a product. More often than not you’re on a tight schedule, and there is pressure to meet the set deadlines. In this kind of scenario, it’s easy to overlook some of the potential problems that lie between you and successful launch to the Apple App store.
Real problems while submitting your iOS app (+how to solve them!)
In this post, I will try to explain on real examples what can happen during the process of launching the new app on the Apple App store and give you advice on how to either avoid them or how to react when they happen.
If you’re reading this chances are that you know that each iOS application should pass a review before it appears in the App Store. Apple reviews every app based on a set of technical, content, and design criterion. In doing so, it ensures that apps on the App Store are reliable and perform as expected.
When the app gets rejected that usually means at least one or two more days spent in Apple App review process. Usually, that means you’re losing speed and focus on trying to find what you’ve missed and what’s what so having your app rejected can be a costly mistake especially if you’re on a tight schedule and have a lot of activities planned around the app launch.
Bare in mind Apple is not perfect nor can it read minds so take these points into consideration before you send your app to Apple for a review.
Checklist for iOS App Submission

1.Provide the needed data
Make sure that you provide Apple with all the necessary data they need to make a successful app review. This one sounds really easy and simple, but in reality, it can really bite you and make you look silly.
To avoid this make sure that before you even think of submitting your app for Apple App review, you read the App Store review Guidelines carefully. Find them at Guidelines review from App store.
Of course even if you read them carefully it’s still a lot of information to check and go through so make sure that even after you enter everything you double check all the data that’s imputed before the submit to avoid getting your app rejected because you didn’t provide the correct login info for the Apple reviewer.
This happened to us, and it’s an easy mistake to make especially if you have an app with monthly subscriptions and you want to have a clear account for apple to test on. What happens is that before going live usually the app is well tested and you want to make a switch from the development environment to production environment.
In doing so, it’s easy to forget to check if the account you’ve provided is still active. In our case, it wasn’t since we didn’t copy the development test data. Unfortunately even having the correct data sometimes isn’t enough to pass the review which leads us to our next point.
2. Make sure provided data is easy to find and understand
Your app is awesome and completely user-friendly we know, but Apple sometimes doesn’t think so.
It is important that you provide Apple with easy to understand and clear instructions to the important bits of the app. That means when a reviewer starts his review he can easily navigate and find the important bits he wants to test like for example subscribing to your service, buying something in the app or checking the legal part of the app.
You can do that by typing detailed user instruction in iTunes Connect under notes section. Keep in mind that you have a separate notes section for the app itself and for in-app purchases.
We thought (wrongly) that subscribing to the monthly subscription if fairly easy and straightforward process but even though we didn’t have issues before, on one review Apple rejected the app because they couldn’t find the subscription screen. What we did is then written detailed instructions for subscribing to, in our case, monthly subscriptions and also made a short video detailing user creation and purchase process which we attached under the notes section. After that, we’ve passed review.
What is important to understand in first two points is that the app itself can be 100% fine and still get rejected and that you can avoid a lot of pain and rejection simply by having correct and easy to find and understand information in iTunes Connect.
3. Take iPad compatibility mode into account when developing and testing
So you have an iPhone only app, surely you don’t have to develop and test with iPad in mind Apple will review your app only on iPhone. Wrong! Check Article 2.4.(.1) about Hardware Compatibility in the guidelines mentioned earlier.
Even if you have an iPhone only app, you have to make sure that the app is working on well iPad in compatibility mode.
This one can really be a painful problem if you find about it after you’ve been rejected because usually, that means potentially additional development and QA time that usually by this point in development process you don’t really have. Make sure that you take this one into account when designing, building and testing your app.
We’ve presumed (again wrongly) since this is an iPhone only app that there isn’t a need to really test it thoroughly on iPad and that Apple will review the app only on iPhone. Apple reviewed the app on old iPad and found out that some of the elements weren’t displaying correctly and they rejected the app because of it.
4. Make sure that all Apple services are running properly
This surely doesn’t have anything to do with you, your app or the rejection. Well not quite. If you’re having any kind of problems you should report it to Apple and also write it down in the notes section, we’ve mentioned before so that reviewer considers that while reviewing your app.
Even while testing prior to the release if you encounter weird problems or bugs make sure that you check the status of Apple services since there is a possibility that your code is fine and that Apple has issues with their services. You can do so by checking system status on this link.
If the problem continues and you’re sure your app is not to blame, report it to Apple through Apple Bug Reporter you can do so on this link.
By reacting quickly and raising an issue through Apple Bug reporter, you can save a lot of time and money.
What happened to us was that Apple’s own sandbox environment wasn’t working properly and the reviewer wasn’t aware of this, and we didn’t inform him about it or reported it to Apple, so he reported that in app purchases/subscriptions aren’t working and rejected the app. The fact was that they weren’t working, but since this was an Apple-related problem, it wasn’t justified cause for rejection. Of course, we’ve objected and explained why this was and raised the issue through Apple Bug Reporter and Apple accepted this and let our app to the store.
Another example of this going wrong is that we’ve had a bug in iTunes Connect on few of the In-App Purchases SKUs that we’ve reported to Apple but didn’t mention in the notes to the reviewer. We didn’t do it since we removed the said SKUs from the app itself and didn’t use them so there won’t be any basis to reject an app because of the iTunes bug on SKUs that we don’t even use. The reviewer didn’t think so, and they weren’t aware of the bug, so they rejected our app. After we’ve appealed to the Apple review committee and provided them with all the info, they needed they accepted our appeal and approved the app.
Apple is a big company, and you can’t really expect that all the people have all the information instantly. Sometimes it takes time for reviewers to get the information that there is a problem in the system. You need to make sure that you are proactive and report problems to the Apple and to the reviewers.
5. Take the time for the review process
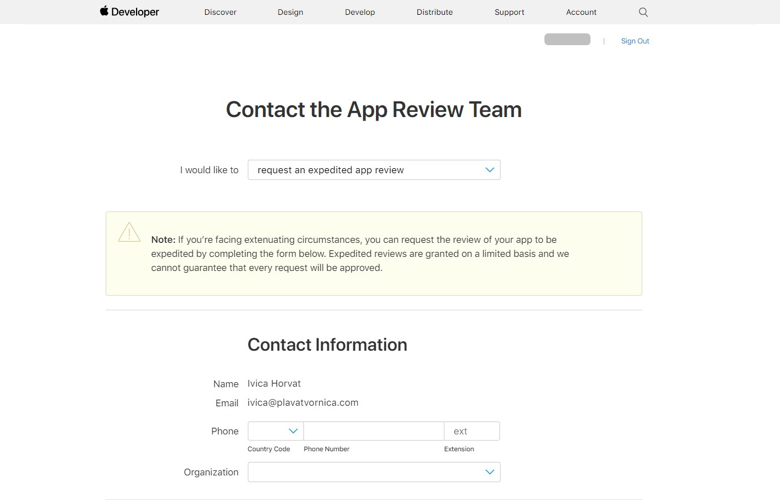
So you’ve spent a bit more time developing and ironing out the quirks that you would ideally like and now you’re in danger of missing that critical deadline for app launch? Don’t panic it happens sometimes. For situations like that there is an Expedited review process.
Before doing that be advised, don’t abuse it and use it only in critical situations. Also since there is no guarantee that Apple will accept your request be sure to make a contingency plan just in case. You can find out more at App store review – guidelines and you can log a request for a review here.
6. Take the time for the app to be visible in the search
 Download checklist before submitting the iOS app to iTunes and start preparing yourself for this big step.
So your app passed the review. Congrats, only a few things left to check and keep in mind. The timing of the app release is often the most important thing that you need to keep in mind because sometimes it can take up to 24-hours for your app to appear in the store.
It’s easy to make this oversight because usually, all attention is on making the app pass the review and usually after that it takes a few hours for app to be visible in the search.
But to be on a safe side you need to factor in that it could take much more time for the app to be visible. This happened to us once, we hit the deadline and passed the review but it took Apple more than 24-hours for an app to be visible in the app store.
If this happens to you and your app isn’t visible after few hours, you can always contact Apple support and log a request.
Before you send an app to the Apple app review process always make sure that you follow these steps.
Sometimes bad and unexpected thing happen but remember that you are in control of your and your apps faith.
Go through the steps, make sure you covered your basis, communicate openly and clearly with Apple and no problem will be unsolvable and on that bombshell, we come to the end of our blog post about Apple App store rejections and what to do with it.
Thank you so much for sticking with me till the end and good luck with your app launches.

P.S. Remember sharing is caring. Do you think some of your colleagues or friends would find this article helpful? Click the share button and share the blog with them. Did you have the same issues as we did? Leave a comment, let’s talk and trade old war stories 🙂