Google Firebase - Introduction and using Authentication service
With 5 years in iOS development & Android development, we have been exploring how to create multi-platform apps that would sync data across supported platforms. We wanted to minimize the need for complex server logic, and if possible, remove custom server logic. Then we came across Firebase.
Sounds familiar? Let me give you a short intro.
What is Firebase?
Firebase is Google’s platform that helps developers build apps. Firebase offers services like authentication, database, storage services and plenty of other services like cloud messaging or test lab. For more info check https://firebase.google.com/ .
What interested us the most, was Firebase database. The documentation states that it is “a cloud-hosted NoSQL database. Data is stored as JSON, synced across connected devices in milliseconds and available when your app goes offline”. It was just the thing we were looking for.
Words are cheap, let’s test this! We will build a simple messaging app. Since this is a complex topic, we will divide it into multiple posts. This post will tell you more about setting up Firebase and how to use basic authentication.
Building our Android test app
Let’s write down app requirements:
- Authenticate user
- View list of contacts
- Chat with contacts
Sounds pretty basic right? We will be using two Firebases services. First is authentication and second is database. So let’s start setting up our project!
Setting up Firebase
Go to https://console.firebase.google.com and create an account or login. After login, click on Create new Project and give it a name. Console will automatically redirect you to your project.
Figure 1. Shows new project.
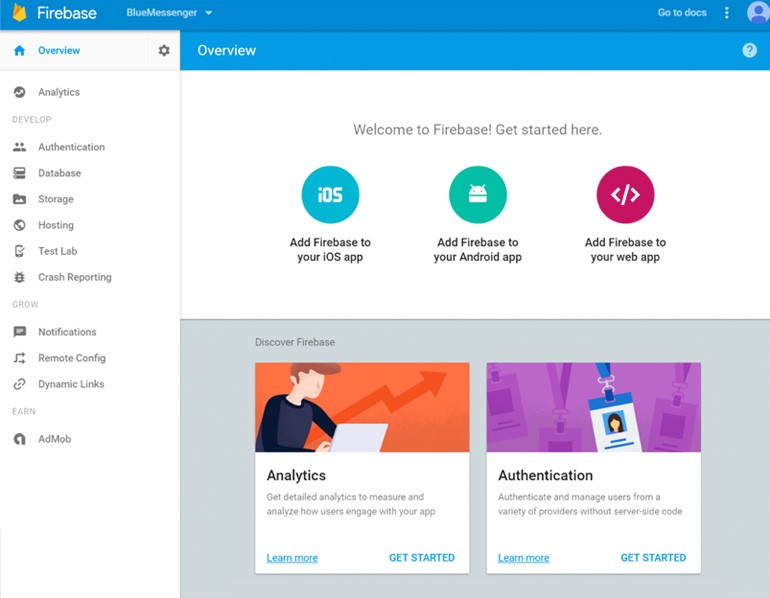
First thing we should do is add our apps to Firebase. We need to do this to enable Firebase Authentication. If you haven’t done this already, create an Android project. After you have set your project, go back to Firebase console and click Add Firebase to your Android app.
Figure 2. Shows add screen.
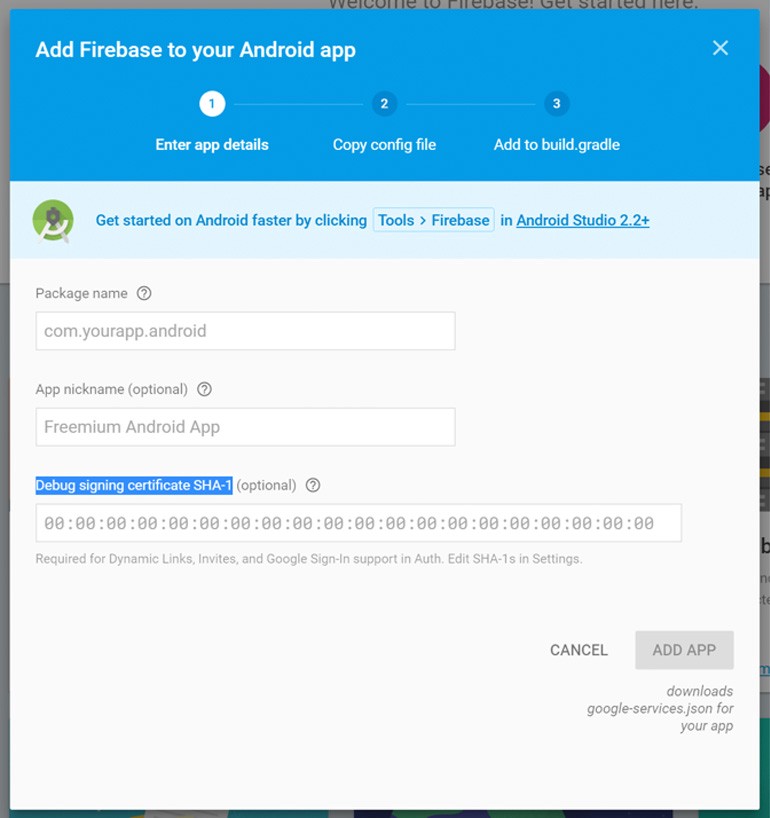
Inside Add screen provide information about your app – it’s package name, name and debug signing certificate. Check here if you don’t know how to get apps debug key. After this step, you will receive your google-services.json. Move the google-services.json file you just downloaded into your Android app module root directory and setup your gradle config. In project-level build.gradle add this :
buildscript {
     dependencies {
         // Add this line
        classpath 'com.google.gms:google-services:3.0.0'
    }
}
Inside App-level build.gradle add this line to the bottom of the file :
apply plugin: 'com.google.gms.google-services'
Finally, we can start implementing Firebase services into our app. Let’s start with Firebase Auth.
Firebase Authentication
Firebase provides multiple ways of authenticating users. You can choose from email authentication, federated identity provider integration like Google, Facebook or Twitter or you can implement authentication on custom server. If you are interested in details check this link.
The great thing about using Firebase Auth is that the service is using Google Smart Lock – a service that will safely save your credentials and use them for signing up via any device you have registered.
For our app we will be using Firebase UI – Firebase integrated Auth support. This will save us time by implementing views and giving us the ability to login users by their Google, Facebook or Twitter account.
Let’s start by setting up things inside Firebase console. Inside Firebase console click on Authentication.
Figure 3. Shows empty authentication screen. Click on Set up sign-in method.

Figure 4. Shows posible sign in providers.
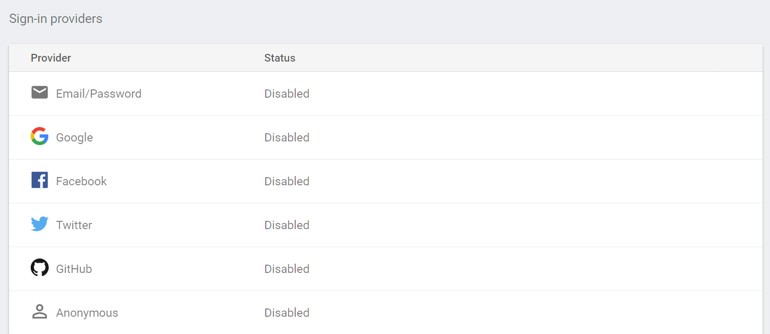
As you can see, all providers are disabled. For this project we want to use sign in using Google and Facebook account. To enable provider, just hover over wanted provider and fill needed information. Because we created app with certificate, Google login should work right away, but for Facebook login we need to create Facebook app and connect it with Firebase.
I suggest you to follow Firebases guides on how to enable Facebook login. When linking your app with the Facebook app, Facebook will tell you how to integrate its SDK with your app. You don’t need to do that because Firebase has Facebook sdk. Also, in my experience, you don’t need to add Facebook launcher activity, or set up Chrome tab activity like it says in Facebook’s guide.
Finally, we are done with setting Firebase console and we can start integrating login inside our app. To use Firebase auth and Google’s authentication UI, we need to add it to our project. Add the following lines to your app gradle script :
compile 'com.google.firebase:firebase-core:10.0.1'
compile ‘com.google.firebase:firebase-auth:10.0.1’ compile ‘com.firebaseui:firebase-ui-auth:1.0.1’
And inside project-level build.gradle script add this repository:
maven { url 'https://maven.fabric.io/public' }
Because we want to use Facebook login, we need to add Facebook app id to our app. Inside strings.xml file add a string with name facebook_app_id and set value to your app id.
To make use of Firebase library, we need to initialize it with the application context. Best way to do that is to create custom Application class and add this line in its onCreate callback:
FirebaseApp.initializeApp(this);
Also, don’t forget to add internet permission and change the application class inside the AndroidManifest!
Using FirebaseUI — Auth
Authenticating a user is the first thing your app should do. Because of that you should implement authentication logic inside of launcher activity. First thing we should do is check if user has already signed in. Luckily for us, this is easy to check. Take a look at code snippet below:
public void checkUser() {
       FirebaseAuth auth = FirebaseAuth.getInstance();
       if (auth.getCurrentUser() == null) {
           // show login
          view.showLogin();
       } else {
           // show content
           view.showMessages();
       }
}
This code snippet checks if user is signed in or not. First it gets FirebaseAuth instance because FirebaseAuth handles all of our authentication work. After that, simply check if current user is null. If user is null, we need to show login, else we can show user’s messages. For now, let’s concentrate on the login part. Inside the showLogin method we will create intent for showing our sign in view. Take a look at showLogin code snippet:
public void showLogin() {
   startActivityForResult(
           AuthUI.getInstance()
                   .createSignInIntentBuilder()
                   .setProviders(Arrays.asList(new AuthUI.IdpConfig.Builder(AuthUI.GOOGLE_PROVIDER).build(),
                           new AuthUI.IdpConfig.Builder(AuthUI.FACEBOOK_PROVIDER).build()))
                   .build(),
           INTENT_LOGIN);
}
As you can see, first we create intent for showing AuthUI activity by using AuthUI’s createSignInIntentBuilder method. In intent builder, we need to set providers that we will be using – same providers that we enabled inside Firebase console. Lastly, we need to call startActivityForResult and pass it our AuthUI intent. We are using startActivityForResult because AuthUI activity returns the value of sign in status via result code. Table below shows what result codes can AuthUI activity return:
| Result code | Description |
|---|---|
| Activity.RESULT_OK | User is signed in |
| Activity.RESULT_CANCELLED | signed in failed |
| ResultCodes.RESULT_NO_NETWORK | Sign in failed due to lack of network connectivity |
Now that we know what results we can get, let’s implement onActivityResult callback.
protected void onActivityResult(int requestCode, int resultCode, Intent data) {
   super.onActivityResult(requestCode, resultCode, data);
   if (requestCode == INTENT_LOGIN) {
       switch (resultCode) {
           case RESULT_OK:
               showConversations();
               break;
           case RESULT_CANCELED:
               showMessage(R.string.error_signing_in);
               break;
           case ResultCodes.RESULT_NO_NETWORK:
               showMessage(R.string.error_no_internet);
               break;
       }
   }
}
Result
The result is an app that can authenticate users by their Google or Facebook account. Let’s go and see what we have created.
On opening the app, we see a pop-up for signing in with the Google account. This is shown in Figure 5.
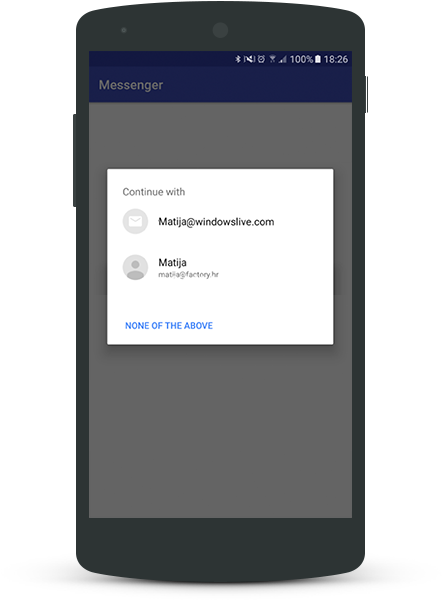
You can dismiss this pop-up and it will show you other sign in options – in our case Facebook and Google. Figure 6. shows basic Firebase Auth UI screen.
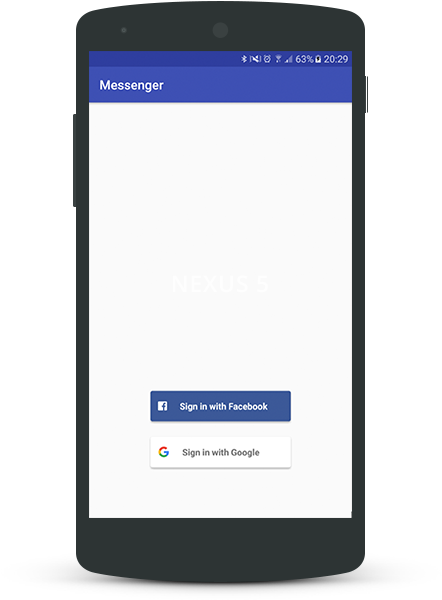
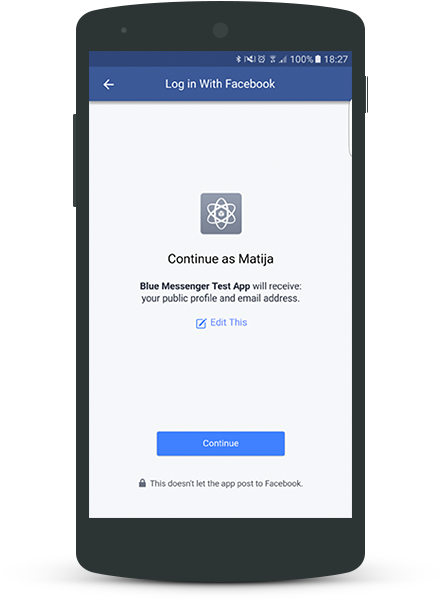
Let’s say we want to sign in using Facebook. App will show you a loader while it validates your application id with the Facebook server.
If everything went OK, you will see something like Figure 7.
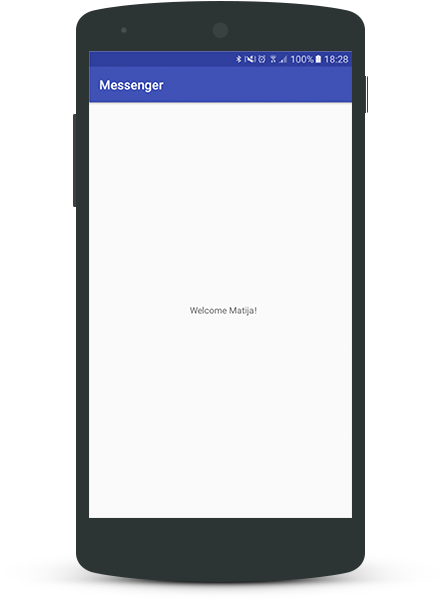
Lastly, when user is authenticated, we can let him use the app, or simply show him welcome screen like Figure 8. is showing.
Just to be on the safe side, go to Firebase console and check authentication. Those records should now show your account.

The road ahead
Authentication of users is the first part of working with Firebase. Now we can start working on our messenger app, giving it a real meaning by implementing the database.


