How to personalize and deliver content to a target audience in Pimcore

Pimcore platform is known for its versatility and powerful personalization capabilities.
In this short guide, we’ll show you how to use the power of Pimcore’s personalization to improve your website conversion rate and improve your customer experience!
If you’d like any professional assistance with Pimcore and building a successful digital business, feel free to reach out to us! We’re a professional Pimcore development company and we’d be glad to help!
If you aren’t already familiar with Pimcore, check out our article on Pimcore to find out what is it and what are the benefits of using Pimcore solution!
In any case, let’s jump in and see how Pimcore’s personalization works!
Start with defining target groups
All of the content on the website can be personalized for every specific target group.
Depending on the characteristics of that target group, we’ll choose different content for each group.
So, let’s first see how can we define a target group.
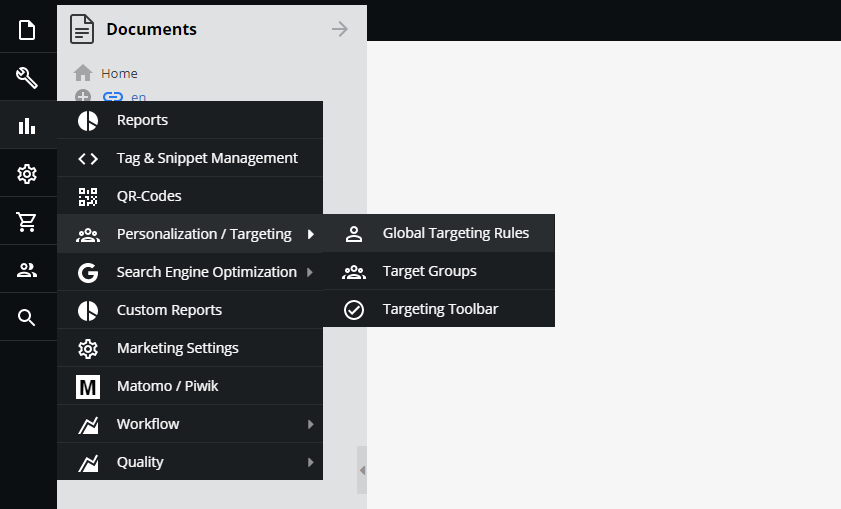
When you first open the Pimcore dashboard, click on “Marketing”, then click on “Personalization/Targeting” and finally click on “Target Groups”.
Here, you’ll have an overview of already created target groups with an option to create new ones.
So, let’s create a new one!
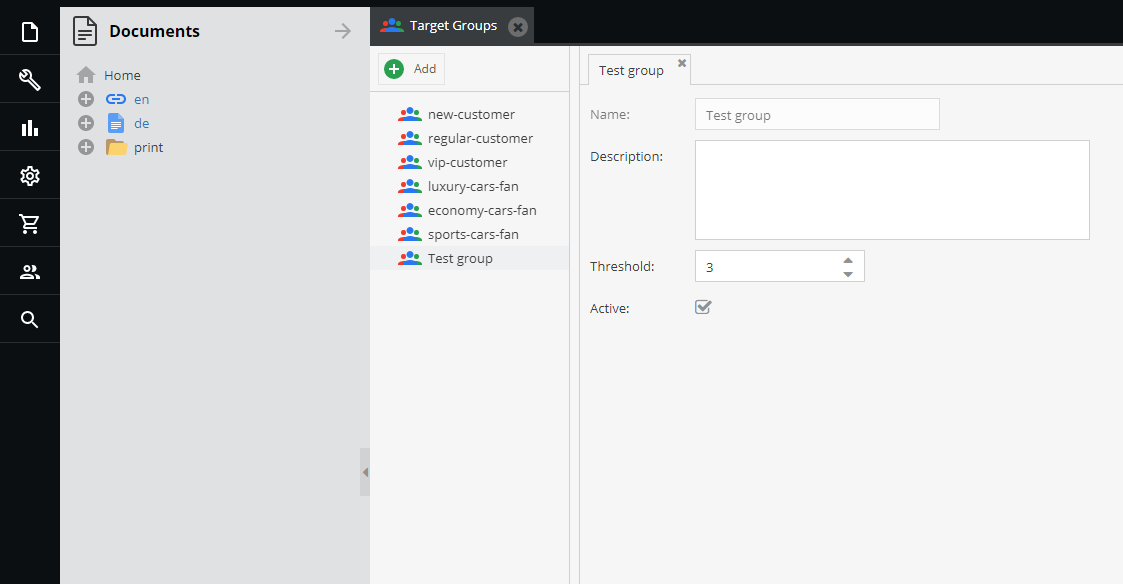
The new target group we created is called “Test group” and we’ll use this one to test Pimcore’s personalization capabilities.
When creating a new target group, you can define its name, description, threshold and you can turn it off (if you really want to).
All of the fields already seem familiar, except maybe threshold.
We can define the threshold as a quantitative limit for this target group.
Hold on to this thought, you’ll soon see why threshold is extremely important for our personalization intentions.
Now, when we’ve defined our target group, let’s see how can a visitor become a part of a target group.
How to assign a visitor to a target group?
Now it’s time to get in action.
There are 2 ways to assign a website visitor to a specific target group. We’ll guide you through the process step-by-step.
Using global targeting rules
Global targeting rules define the situation in which a visitor becomes a part of a target group.
To access global targeting rules, on the left sidebar click on “Marketing”, then click on “Personalization/Targeting” and finally, click on “Global Targeting Rules”.
Now, you’ll see something like this.
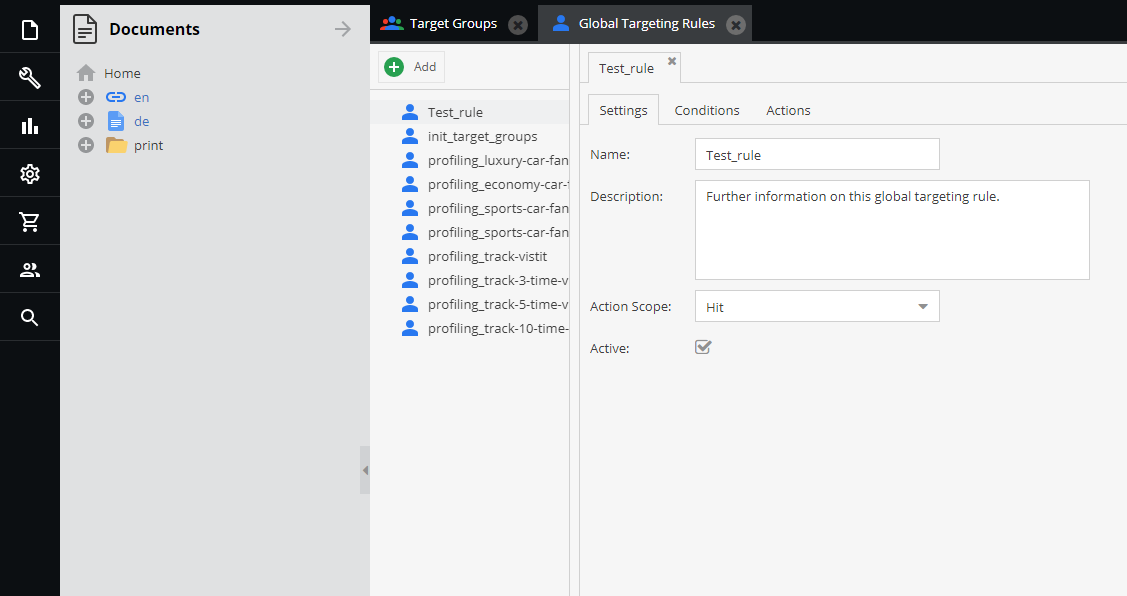
Here, we’ll define the settings, conditions, and actions for this targeting rule.
Action scope may raise a few eyebrows, so let’s clarify it a bit.
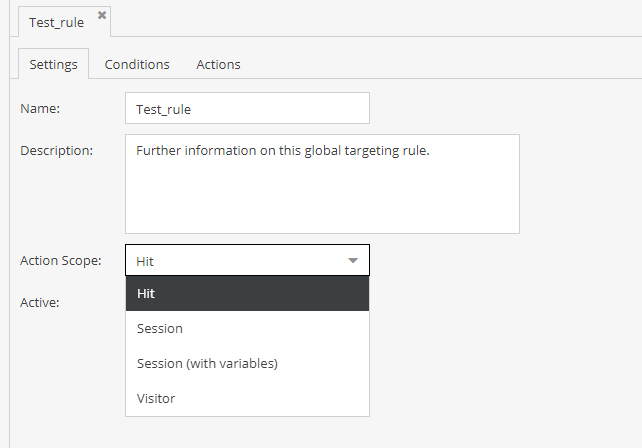
There are 4 different action scopes; hit, session, session with variables and visitor.
- Hit – represents actions executed on every request
- Session – represents actions executed per each session
- Session (with variables) – represents actions executed per each session in which visitor information is changed (e.g. if a visitor get assigned to another target group)
- Visitor – represents actions executed once per visitor.
When we’ve defined the settings of this rule, we can move over to conditions.

As you can see, there’s a good amount of potential conditions to choose from. This just shows you how powerful Pimcore’s personalization engine is. And we didn’t even start!
We’ll use Pimcore’s demo website as an example while defining global targeting rules.
We’ll create a simple condition here.
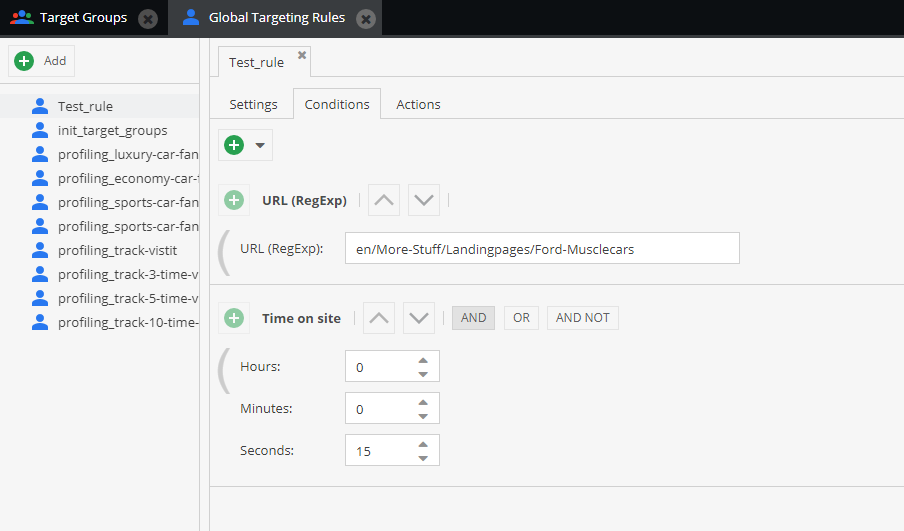
According to these conditions, every time a visitor visits the Ford Muscle cars landing page and stays on that page for at least 15 seconds, he’s fulfilled all the conditions for this targeting rule.
Next, we need to define the action that’s going to be executed upon the fulfillment of these conditions.
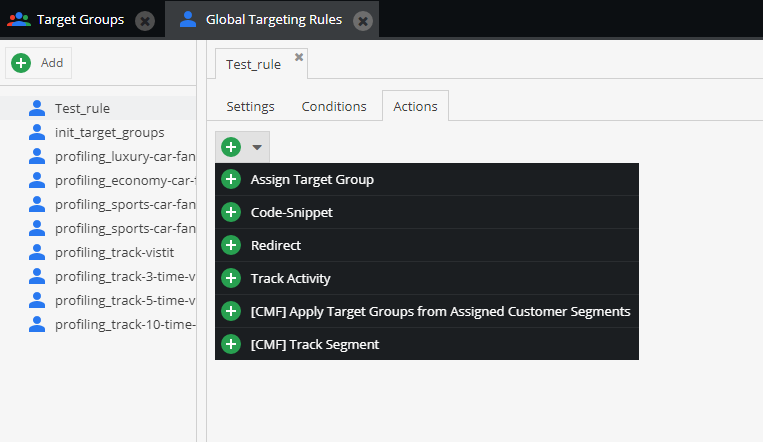
There are 6 actions we choose from.
We can assign our visitors to a specific target group, insert a code snippet, redirect them, track their activities, and so on.
For the sake of example, let’s choose “Assign Target Group”.
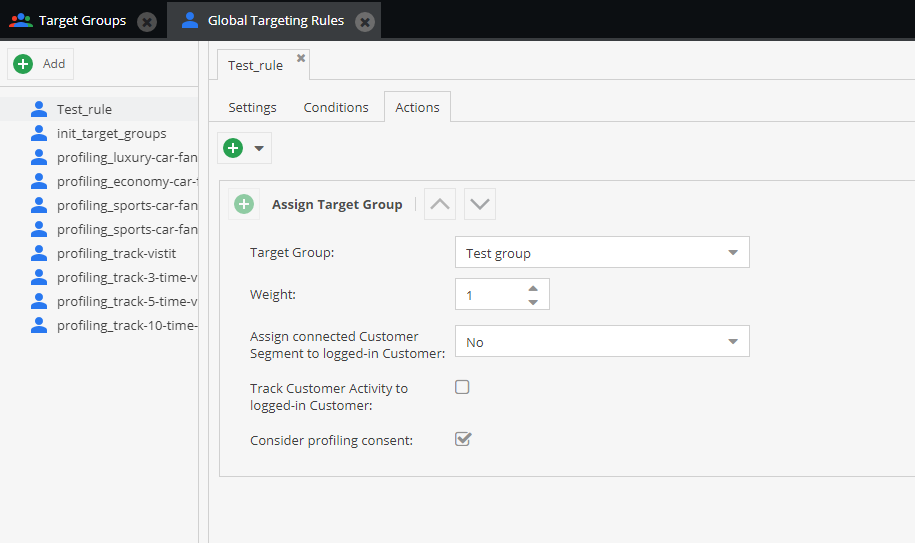
So, when a visitor fulfills all the conditions, he’s going to be assigned to our newly-created target group.
Pay attention to the “Weight” item. It appears with every action we define.
Now, let’s define weight.
Weight can be defined as the quantitative impact of an action defined by global targeting rule.
Both weight and threshold are connected.
We defined the threshold for our target group to be 3, and the weight of this action to be 1.
That means that this action needs to be executed 3 times for a visitor to become a part of our newly-defined target group.
We can also define another targeting rule and connect it with this target group.
The possibilities are endless.
There is another way for assigning a visitor to a target group, and to be honest – it’s a bit simpler than this one.
Assigning target group to a document
To assign a target group to a document, first, we need to open a specific document.
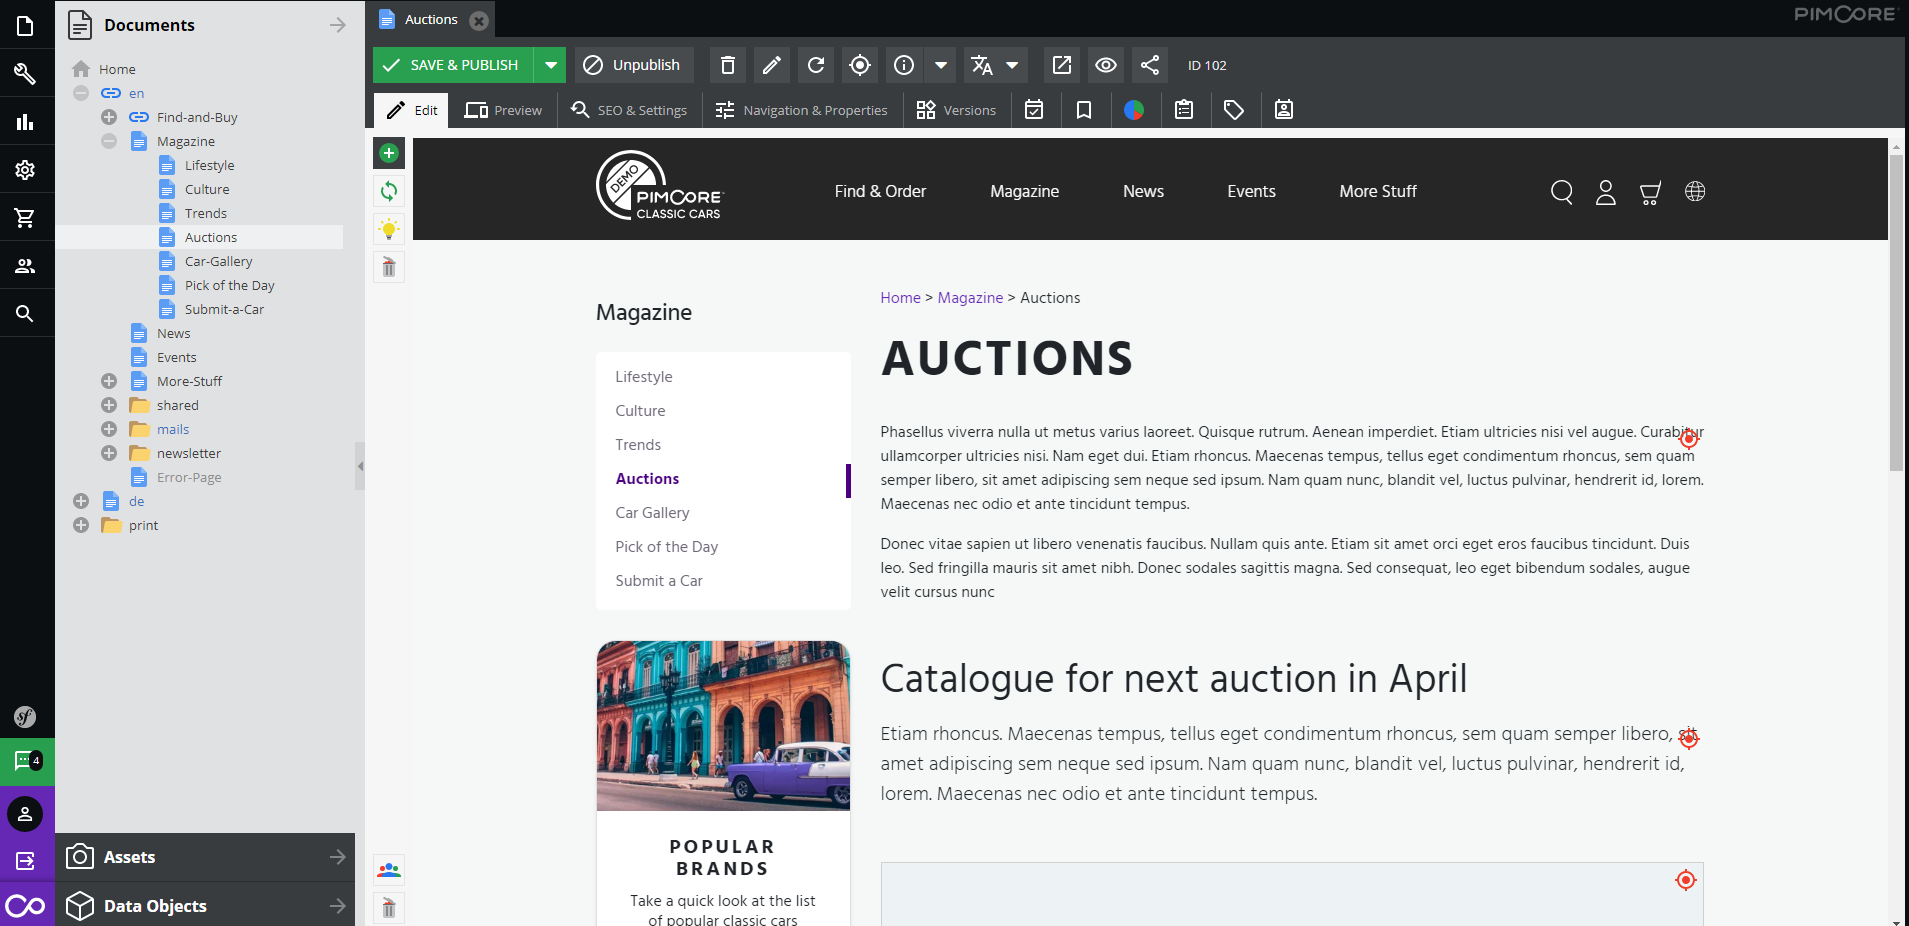
Here we opened the “Auctions” document and now we’re ready to assign target groups.
Next, click on “SEO & settings” located in the top toolbar.
After opening this tab, you’ll see something like this.
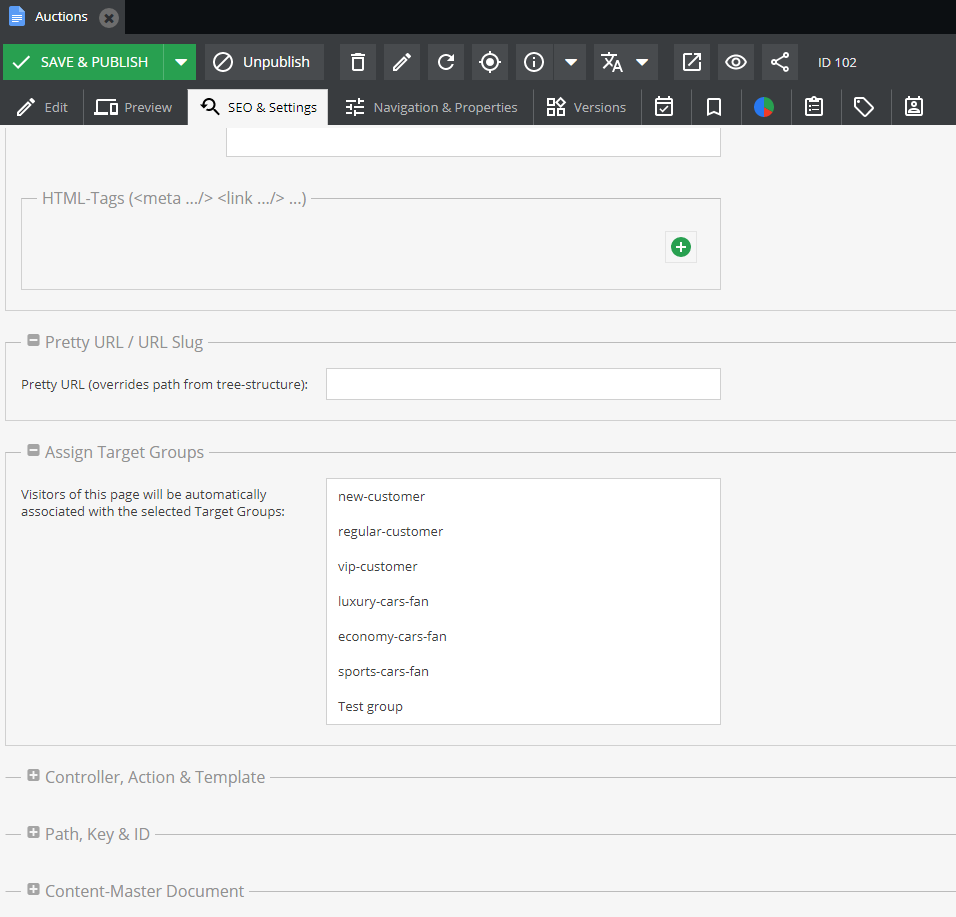
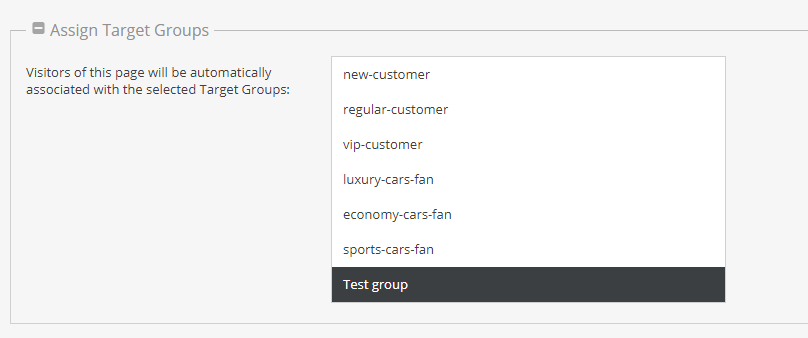
In the section “Assign Target Groups” you can choose which target group to assign to this document. You can choose one or multiple target groups.
We’ve selected our Test group, meaning that every time a visitor lands on this page, he’ll be assigned to our Test group.
When our visitor has landed on this page, his assignment count is 1. Next time he opens this document, his assignment count is 2, and so on.
Assignment count can be defined as the quantity of assigning a target group to a visitor.
If you’ll remember, we set the threshold for our target group to be 3.
That means that our visitor needs to visit this page 3 times before he’s considered to be a part of our target group.
The assignment count is very similar to weight. We can define weight for our global targeting rule to be 5, for example.
That means that after a visitor fulfills all the conditions of that rule, his assignment count increases by 5.
This is the main difference between assigning visitors to a target group by using global targeting rules and by assigning a target group to a document.
Just imagine how many combinations are possible.
Now that we’ve clarified the whole process of assigning visitors to target groups, let’s see how can we use those target groups to personalize content and distribute it.
Personalize content for a specific target group
Now comes the real deal.
So, we defined our target groups and ways for a visitor to become a part of one.
It’s time to personalize some content and distribute it to our target groups.
First, let’s open a document.
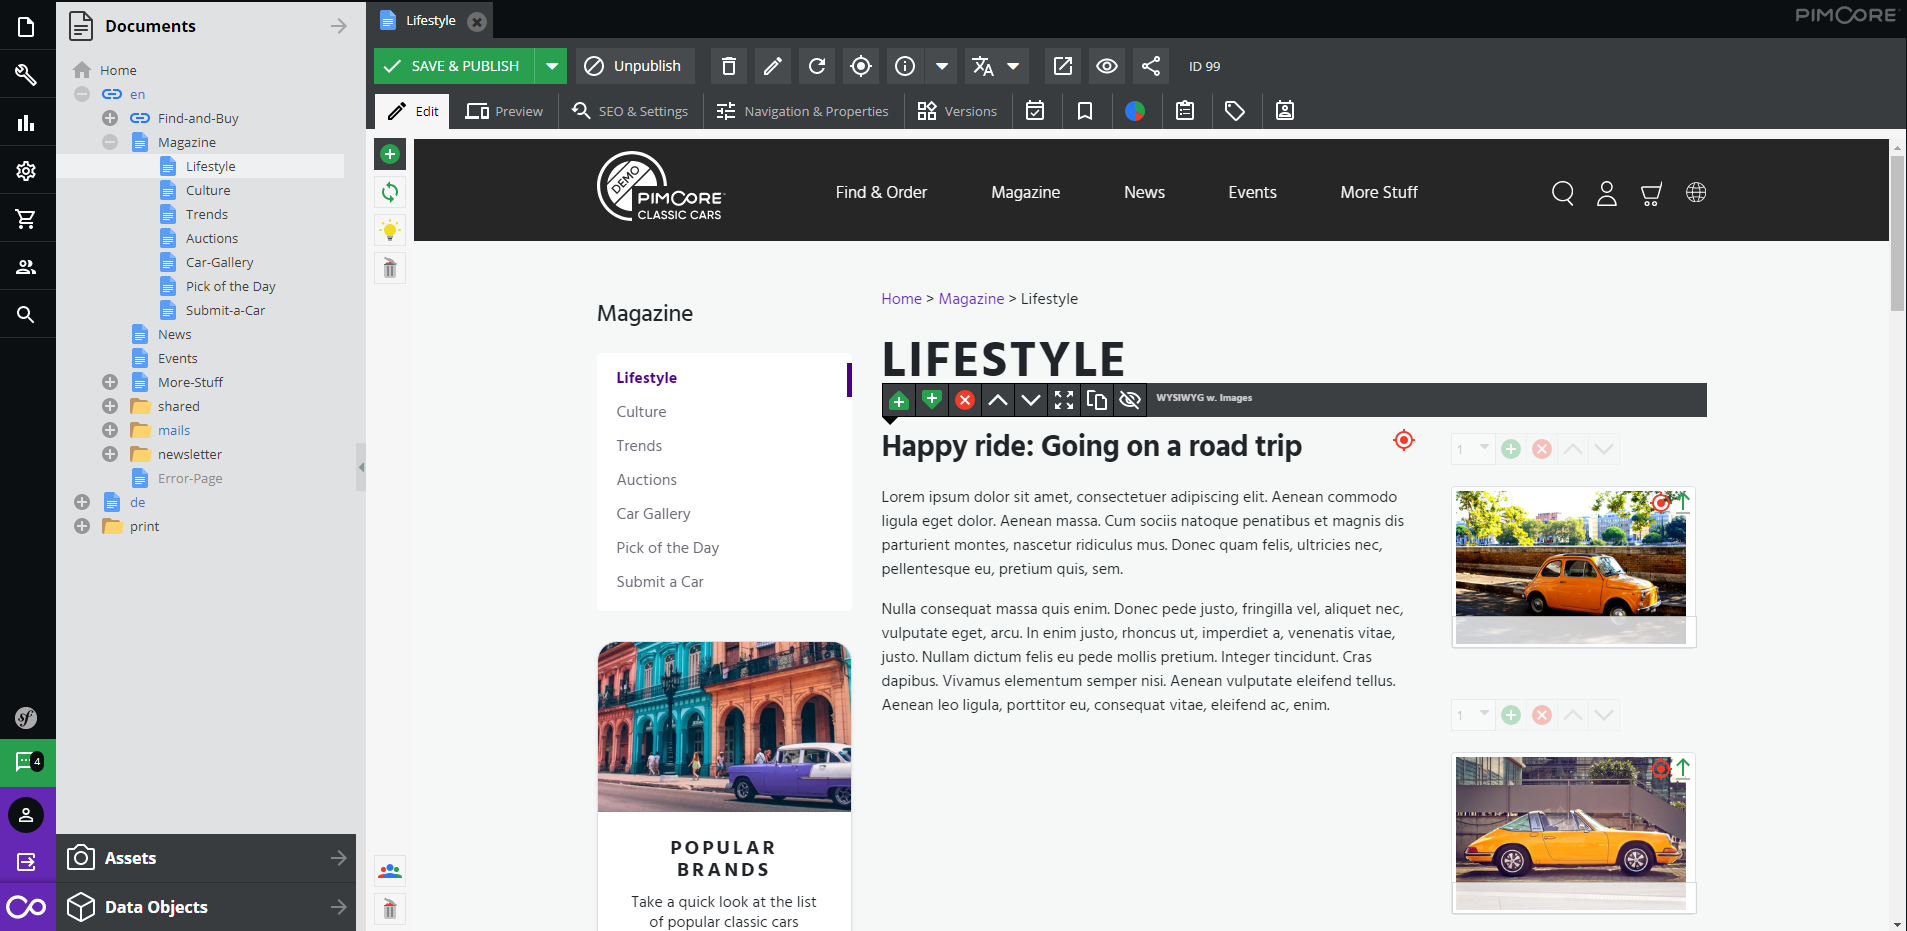
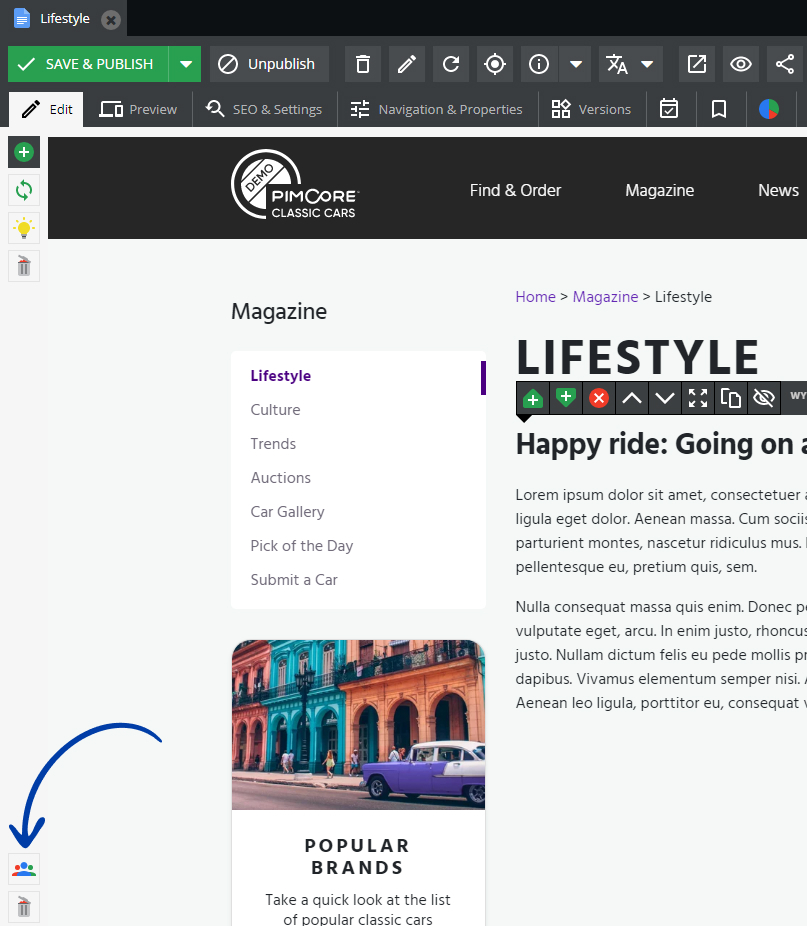
We opened the “Lifestyle” document and now we get to personalize content.
By clicking on the yellow lightbulb in the upper left corner of the document, you’ll see what parts of the document are editable.
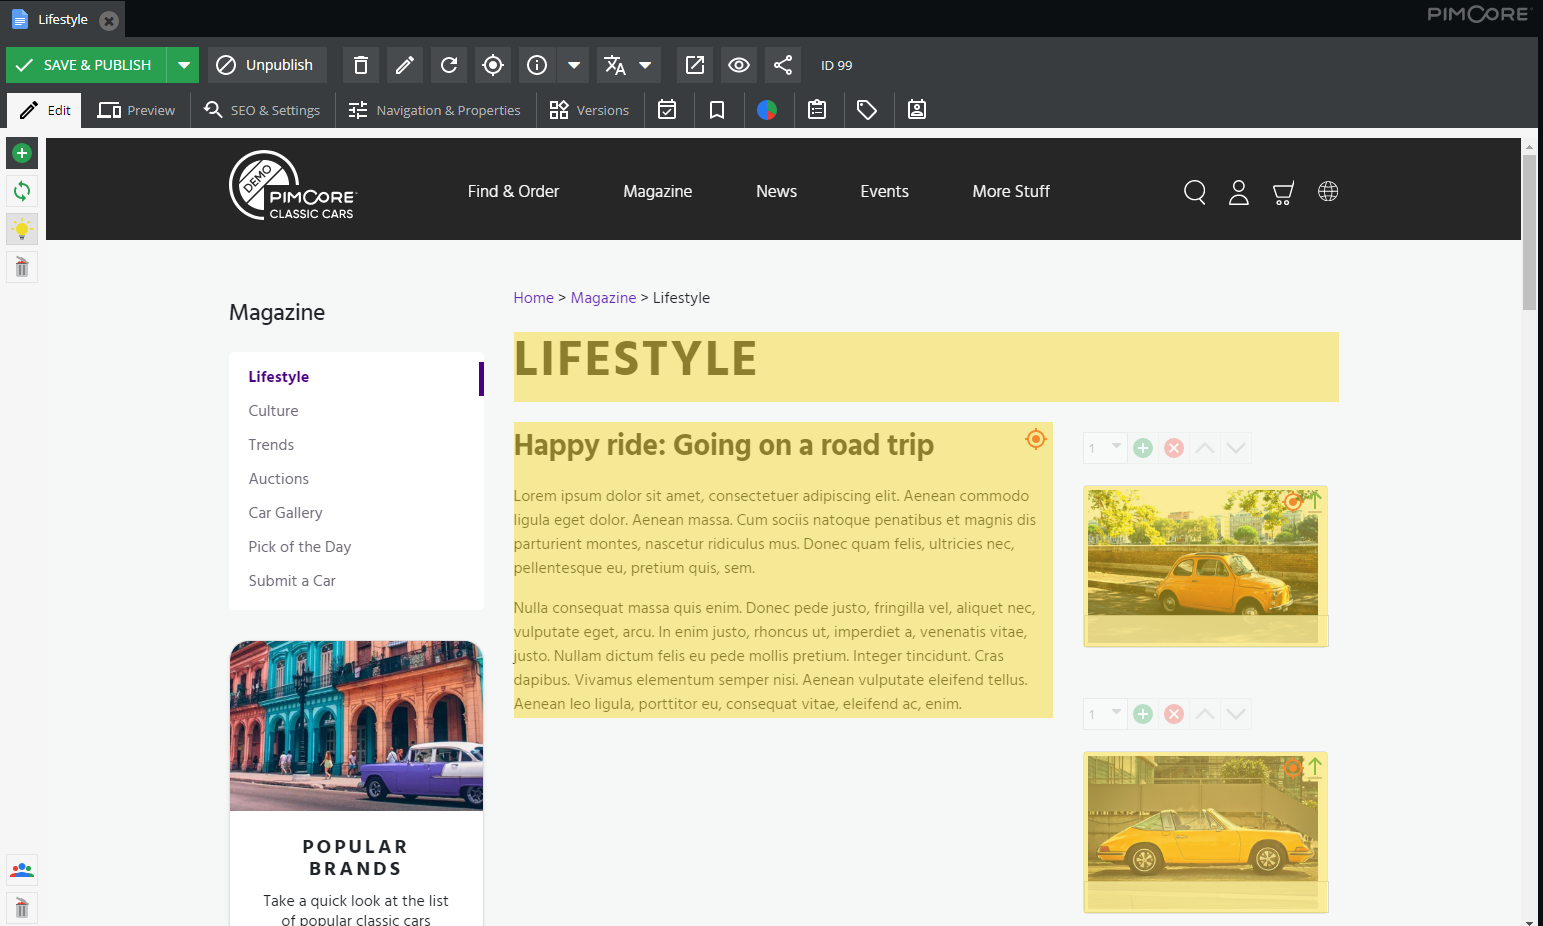
This is great! We can personalize almost anything here.
Let’s say we want to use different pictures on the right side of the document and change the headline, so it suits our target group.
If we want to personalize a document for a specific target group, we’ll need to select that target group in the lower-left corner of the document.
By clicking on the small icon, you’ll be able to choose from all the current target groups. Let’s choose our Test group!
Now, when we’ve selected the desired target group, let’s start personalizing.
All you need to do is right-click on the part of the document you want to edit and click on “Overwrite”.
We can choose our desired asset and drag-and-drop it.
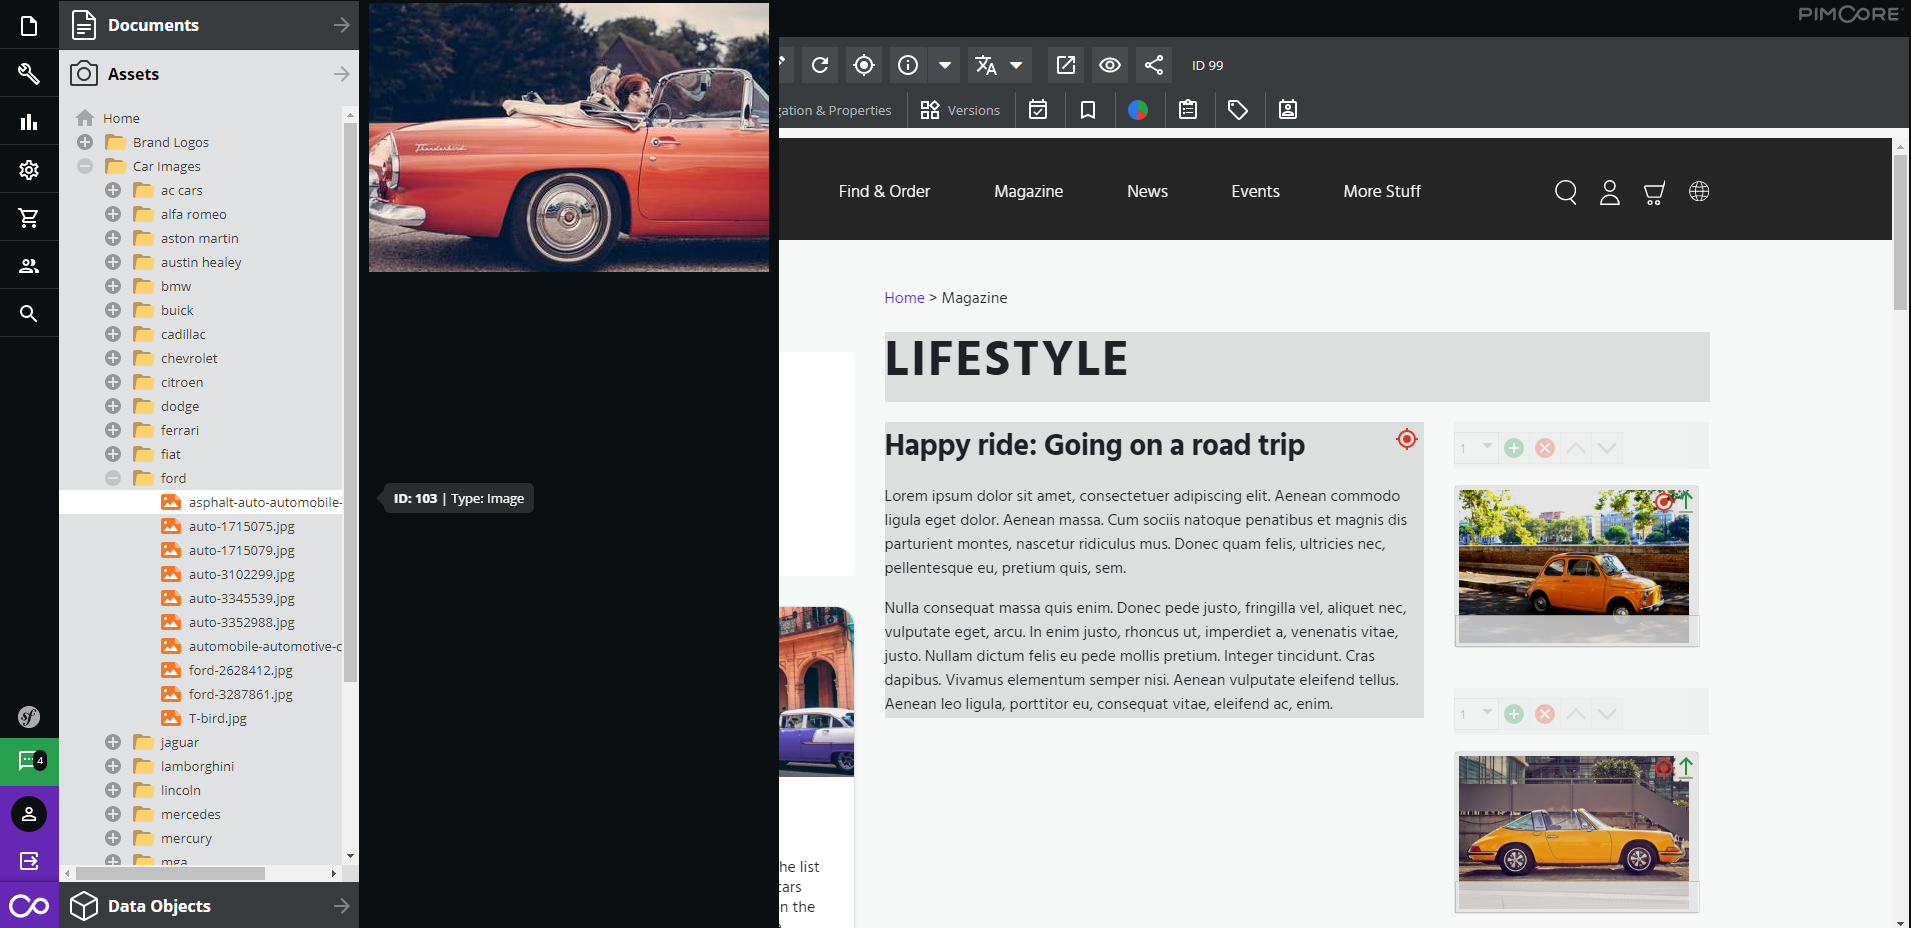
After you’ve made the changes, just click on “Save & publish”, located on the top toolbar.
To be sure that the document looks just as we wanted, we’ll click on “Preview” and check it out for ourselves.
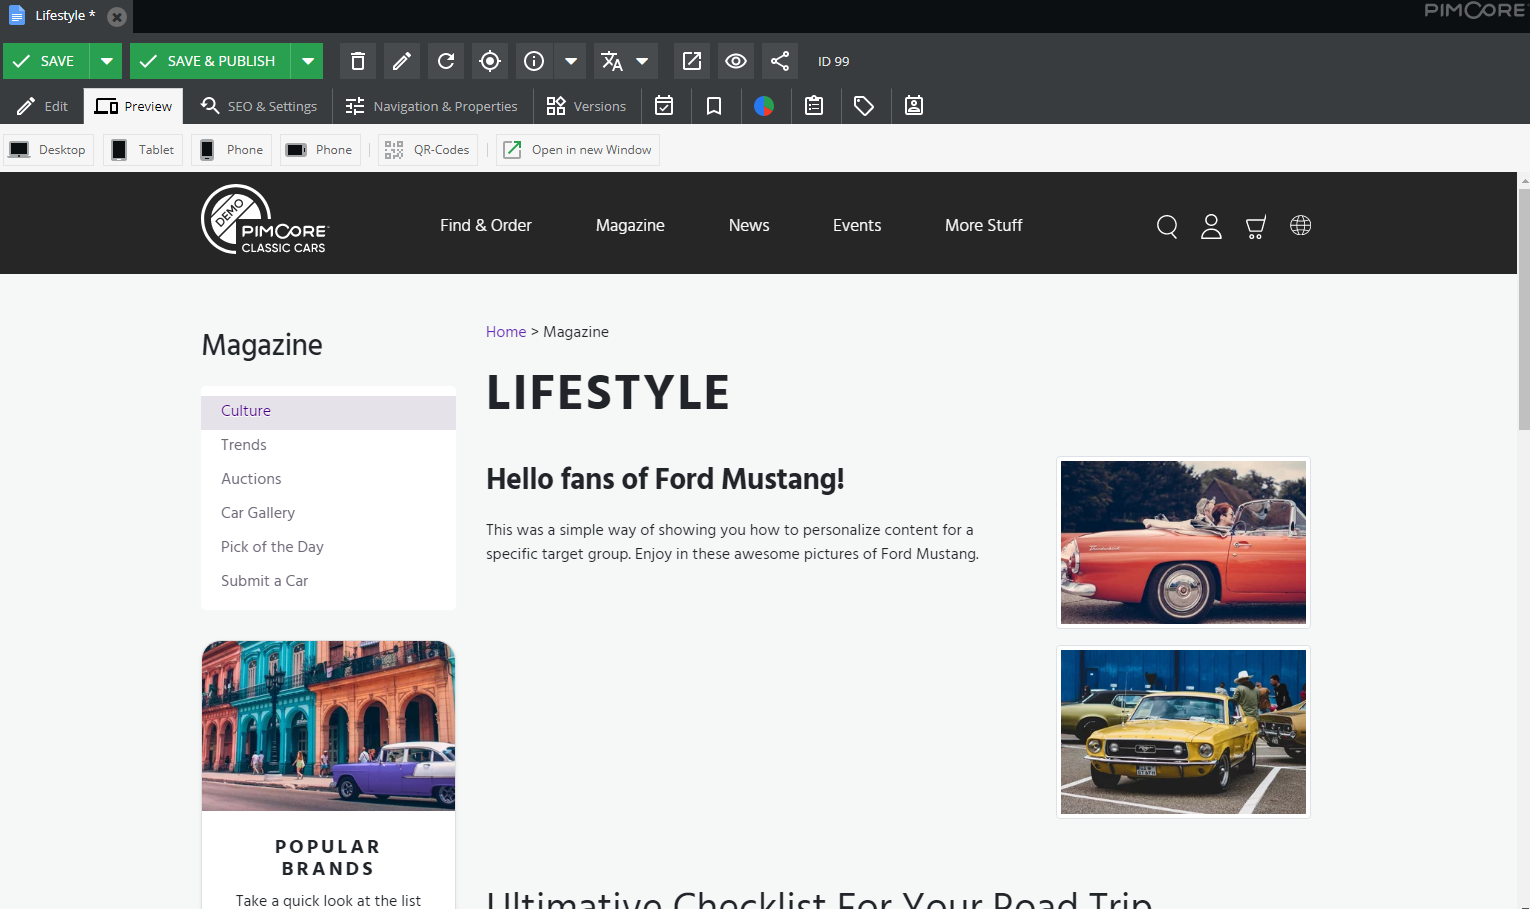
Yes, that’s it.
Personalizing and distributing content for multiple target groups has never been easier.
For example, we can personalize this document for as many target groups as we want.
But just to clarify, what if there’s a visitor who’s in 2 different target groups? What kind of personalized content are we going to distribute to him?
This depends on the assignment count.
If the visitor has an assignment count of 8 for one target group and an assignment count of 5 for the second group, he’ll be shown content for the target group where he has greater assignment count.
It’s always about relevance.
Until now, we’ve talked about visitors and target groups. Let’s talk more about registered customers and customer automation rules.
How to use customer automation rules
Customer automation rules will help you define customer segments.
They function similarly to global targeting rules, with a few key differences.
First of all, global targeting rules are used in combination with target groups, while customer automation rules are used in combination with customer segments.
Additionally, we can’t manually remove a user from a target group, but we can remove users manually from manually created customer segments.
Now, let’s see how can we set up some customer automation rules and how can you use them.
First, on the left sidebar, you’ll find the icon for the “Customer Management Framework”. Click on it and then click on customer automation rules.
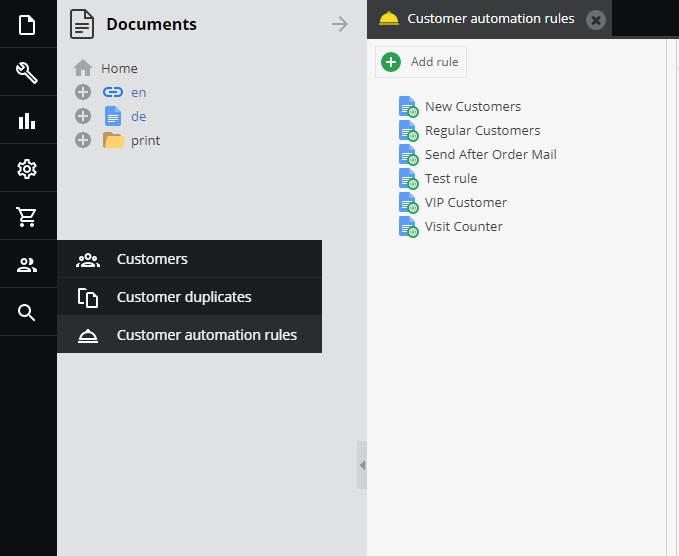
We already have a few segments defined, but let’s add another one.
After naming your automation rule, you’ll see something like this.
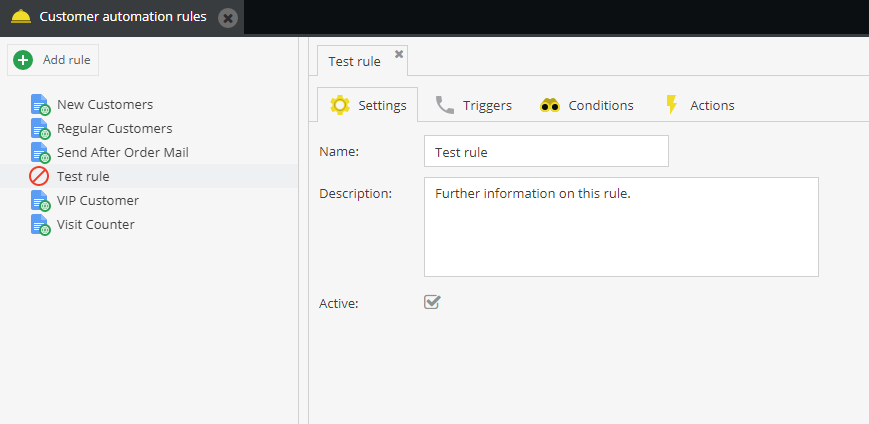
Global targeting rules have 3 different tabs, while customer automation rules have 1 more – triggers.
Let’s define some triggers first.
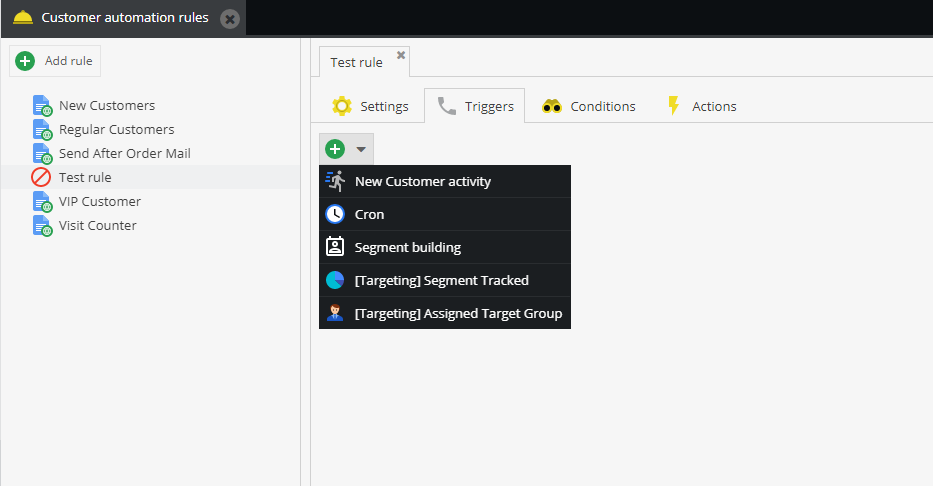
There are 5 different triggers offered, and you can combine them however you see fit.
Let’s create a simple trigger here.
For our trigger, we chose “New Customer activity” and we defined the type to be “Customer order”.
That means that for every customer order, this rule will be triggered. The action we define later will be executed only if the conditions are fulfilled.
If this rule isn’t triggered, the action won’t be executed, even if the conditions are fulfilled.
To get this in order, let’s define the conditions.
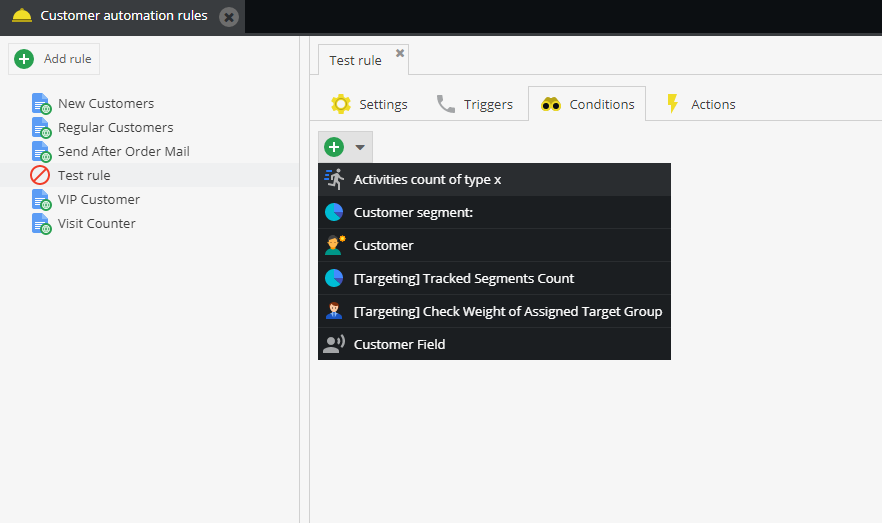
Here, we can choose from 6 different conditions, and we can also combine them however we want.
Let’s use a simple combination of 2 conditions here.
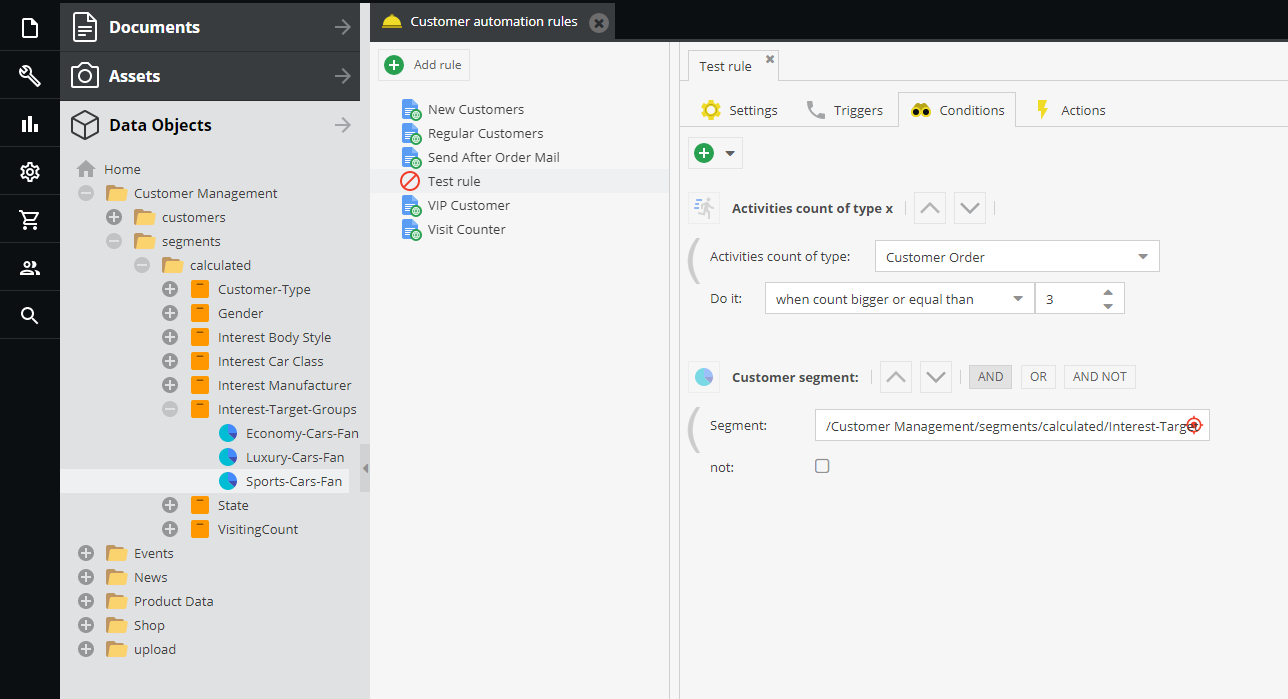
If the customer already ordered 3 times and they’re already classified as a sports car fan, the conditions are fulfilled and the action will be executed.
And lastly, let’s define the action that will be executed.
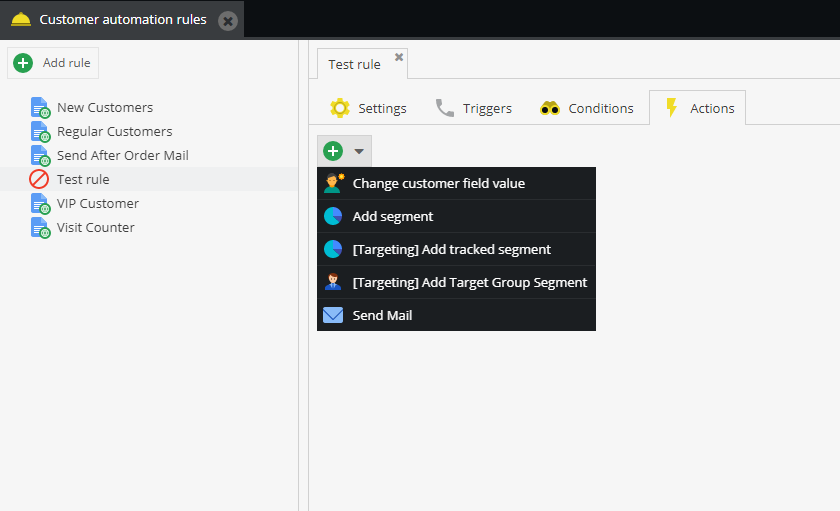
There are 5 different actions to choose from. For this rule, we’ll go with the “Send Mail” action.
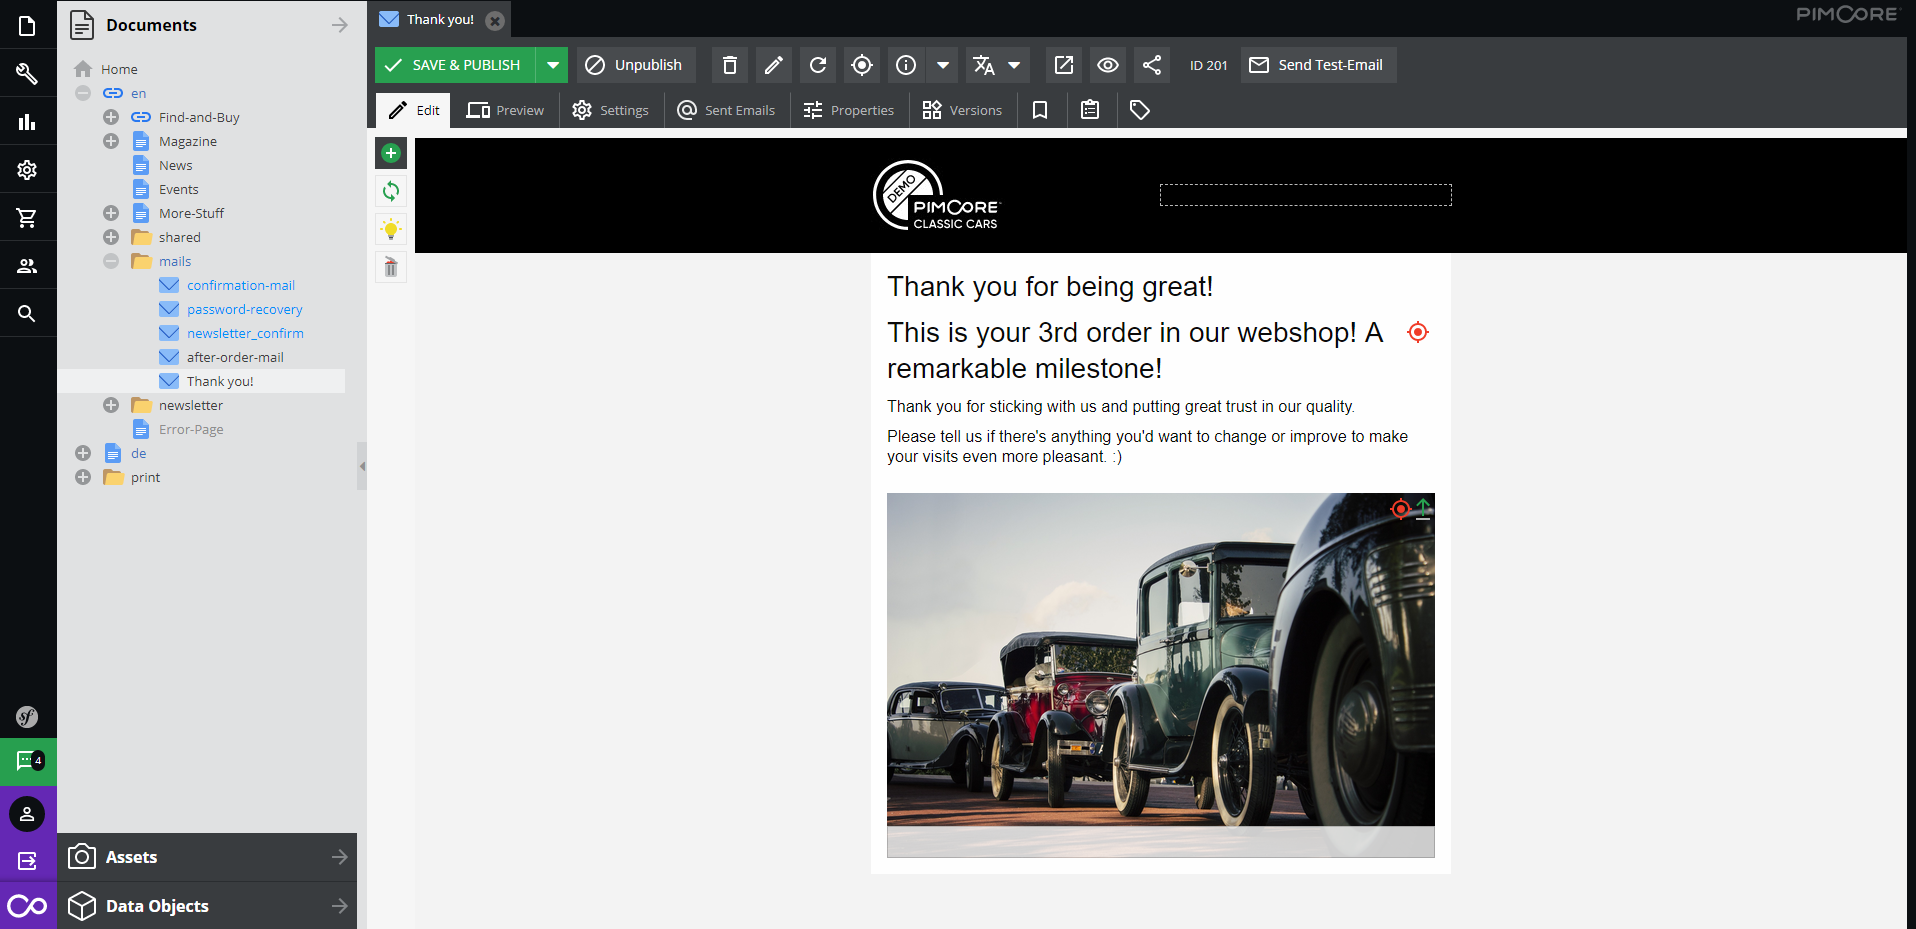
When our sports car fan customer orders from our website for the 3rd time, we’ll send him a nice and heartwarming email to thank him for being so great!
We quickly created a special mail for this customer segment and we’ll easily add this email to our action in customer automation rule.
And that’s it.
In the end, all we need to do is drag-and-drop our newly-created document into the predefined field and click “Save” in the lower right corner.
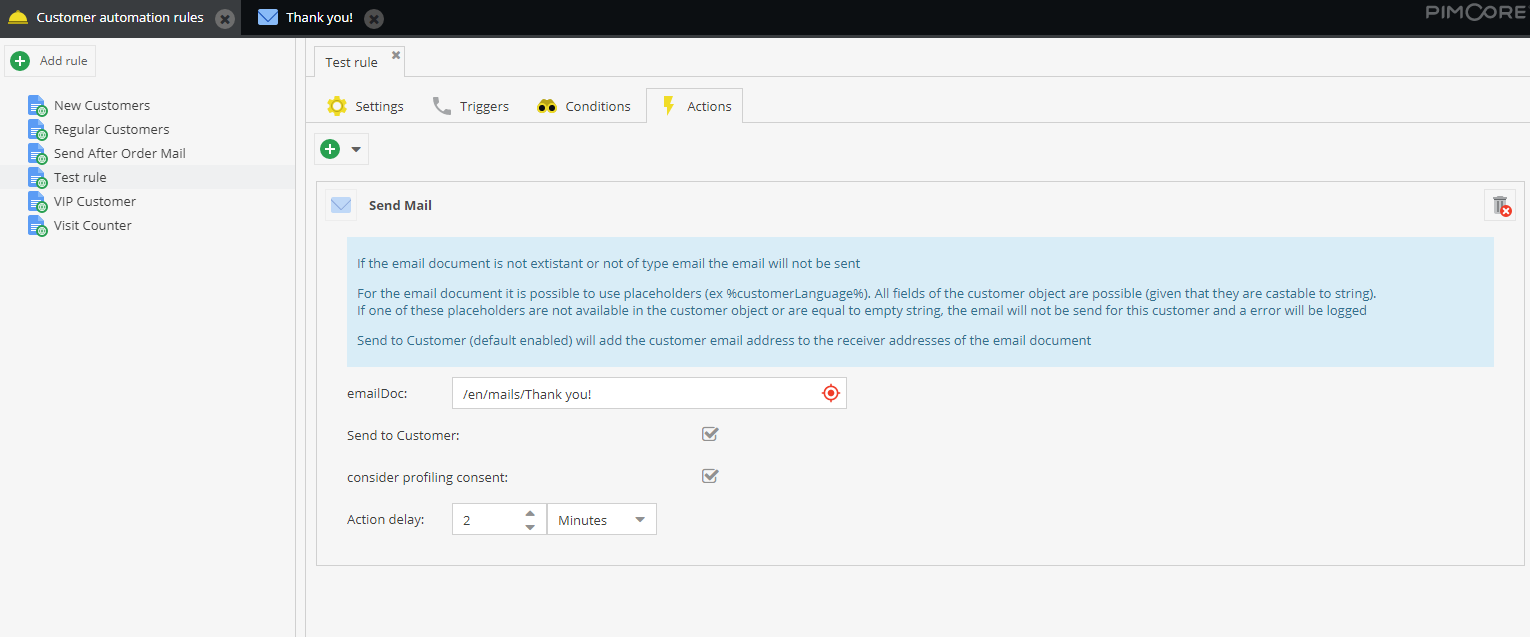
Now our new customer automation rule is active and whenever sports car fans order something from our website for the 3rd time, they’ll get this short and sweet email.
We’ve set the “Action delay” to 2 minutes so the customers don’t get “attacked” by notifications the same second they place an order.
Creating new customer automation rules is intuitive and it helps you get the most out of your website.
Check out one of our previous articles where we discussed more about Pimcore’s customer data platform and its capabilities to find out more!
Also, improving your data quality is mandatory if you aim to improve your website conversion rate. Check out how Pimcore helps you avoid some common data quality mistakes in one of our previous blog posts!
Implement personalization in your business strategy even today!
The possibilities offered by Pimcore’s personalization engine are endless.
You can create as many target groups and customer segments as you want, in order to increase your conversion rate.
Companies Econsultancy and Red Eye conducted extensive research on personalization, so if you’re still having doubts, be sure to check it out!
As they point out in their research, 94% of companies are reporting an increase in their conversion rate after personalizing their website.
This short guide will help you utilize Pimcore’s personalization capabilities. If you think we’ve missed out on giving some great advice, please tell us at [email protected].
And if you’d like some professional assistance, feel free to reach out to us!
We’re a professional Pimcore development company dedicated to building successful digital businesses.
Give us a call and let’s talk about your ideas!