Pimcore Thumbnails: How to start using them successfully
Pimcore thumbnails may easily prove to be a powerful tool in your web development arsenal. And in this article – we’ll provide you with a deeper insight into Pimcore’s thumbnail system, its advantages, and finally, we’ll show you how to use it. Step by step.
When talking about Pimcore thumbnails, one of the first things that may come to mind is page load time. Over years, page load time has become extremely important to Google, and by reading this article – you’ll know how to use Pimcore thumbnails to significantly improve your page load time.
And ever since the introduction of Google Lighthouse, page load time has become even more important, along with the other metrics that indicate the level of website performance.
To ensure you can instantly see what kind of impact do Pimcore thumbnails have on page load time, we’ll compare the page load time before and after using Pimcore thumbnails. And finally, we’ll dive deeper into Pimcore’s thumbnail system and display all of the tools you have at your disposal.
Before we dive in, we’d like to offer you help! If you’re looking for help with your next business idea, our Pimcore development experts will be happy to help! You can reach out to us anytime!
And now, let’s jump right into the article and make sure your next encounter with Pimcore thumbnails is a successful one.
What exactly is page load time and how can we affect it?
In short, page load time is the time needed for your page to fully load. Faster = better? Absolutely yes!

Users tend to get very impatient when experiencing slow page load times and the best thing web developers can do to satisfy users is – faster load time! Other than that, Google loves fast websites and Google will rank higher those websites which load faster – and you know what that means. It means more people will visit your site.
Page load time counts from the moment you click on a link or type a web address to the moment the webpage is fully loaded. We measure it in seconds and it can be split into two parts:
- Network and server time: it depends on the quality of your internet connection and how quickly static elements, eg. photos are displayed
- Browser time: how long it takes to analyze and execute the entire document so it can be interacted with
The same site can have different page load times depending on the type of browser used, the device, and the actual location of the user.
Now, let’s check some website load time statistics:
- .05 seconds is necessary for a user to form an opinion about your site
- 65% of consumers admit that page speed influences their likeness to buy
- 15% of websites operate at an acceptable page speed
- 57% of visitors leave a site if it takes longer than 3 seconds to load
- 3 out of the top 4 SEO UX signals are page-speed-dependent
All this is just building the case that you should take care of the performance of your website. If you are wondering where you can start from, you don’t need to go any further. We’ve recently covered the topic of Google Lighthouse and how it can help you improve your website performance, especially when used with Pimcore!
Now, let’s start!
Creating the image gallery project
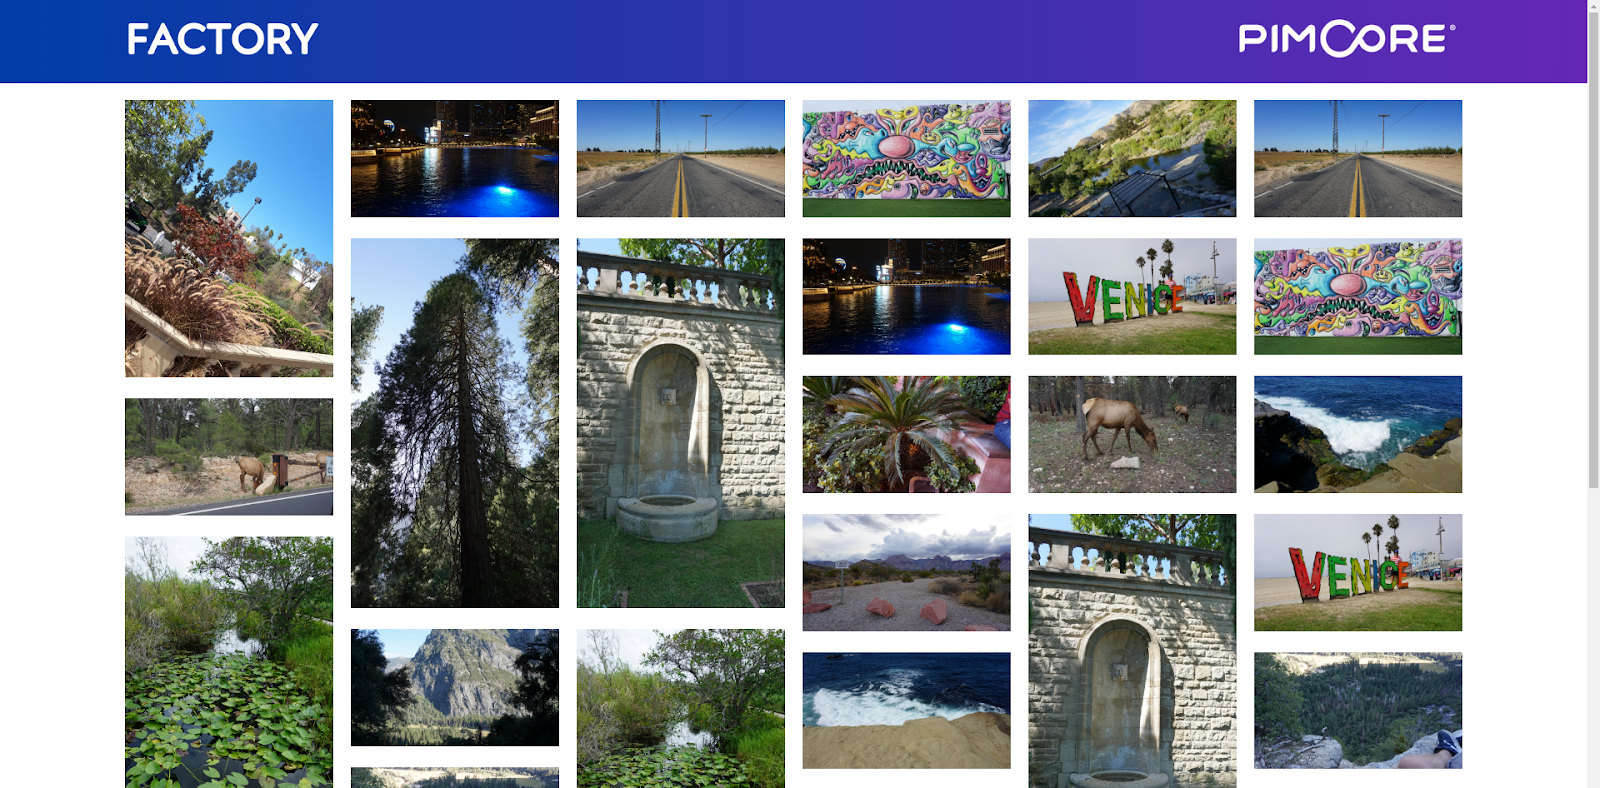
We can finally start with our main mission. In this chapter, we will make a simple image gallery with the help of flexbox and with very large images which should have a great impact on performance. The image gallery will look something like this:
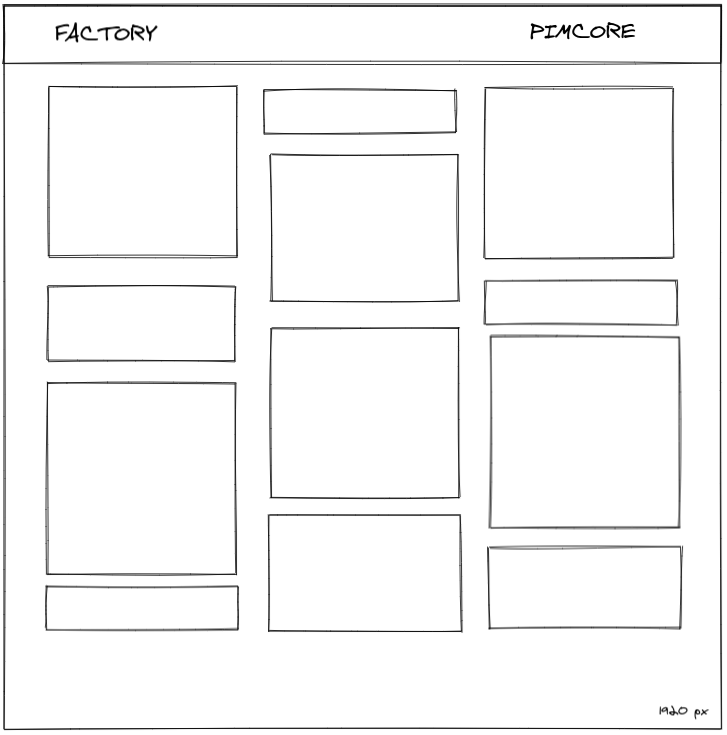
We have used Excalidraw to make this. It’s a great tool that allows you to sketch pretty much everything very quickly (and it really looks cool). In the next image, you can see the result. We’ve used our own images for this demo gallery and every image is between 4 – 8 MB, and with 30 images this simple gallery is 150 MB heavy. You’ll need to have a good internet connection to be able to open that.
I’ve made 6 columns instead of 3 so more images can fit. Let’s check the network tab to see how heavy our site is. This is the result:

Because we’re now on localhost, the site actually loads in about 5 seconds, but we want to see how it will perform if it is on a server. For that, we will use ngrok to expose a web server running on my local machine to the internet. We’ve made this screenshot after 5 seconds of loading.

This sure brings some old memories when you had to wait for an eternity to load any page. We won’t even try running Lighthouse here, because we know we won’t be able to get results. We can all agree that the main culprit is the sheer size and amount of our images that we can’t load in this gallery in a reasonable amount of time. Now, let’s go to the Pimcore admin and make a thumbnail for our photos.
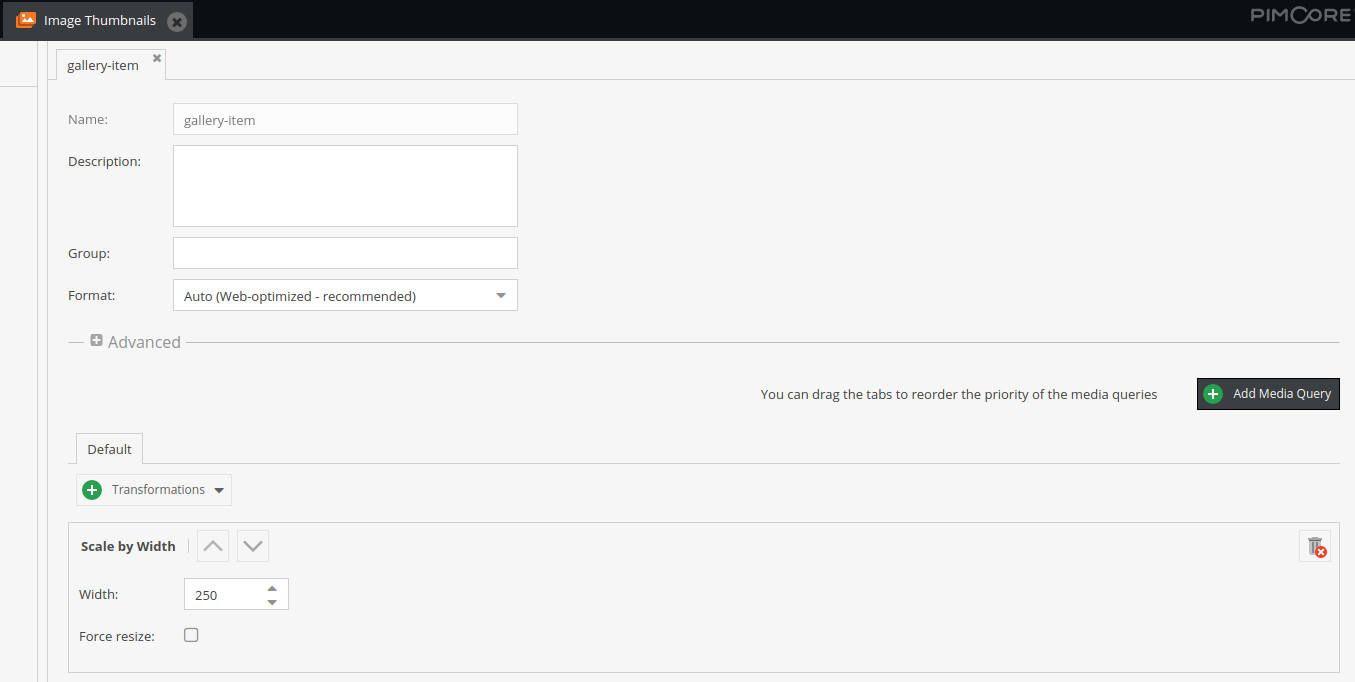
This is our thumbnail. We declared it should be scaled only by width because that is the width of the columns. And now let’s see how heavy our page is with this.

With this small improvement, we went from 275 MB to just 669 kB, which is 411 times smaller. Now we can measure the website performance metrics in Lighthouse.

Well, to be honest,

Actually, this result is great. When we open the result details, we can see that the initial server response time is 0.6 seconds and that brings us to 1.1 seconds.
Also, when we are requesting certain thumbnails for the first time, response time will be longer because those thumbnails are being generated, but every time after that we can expect improved performance because thumbnails will be pulled from the cache.
In case we want to generate thumbnails straight away, we can forward false as the second parameter to the getThumbnail() method:
getThumbnail(“thumbnail-name”, false).
Alright, now that we have seen the most obvious benefit of the thumbnails, we will dive deeper into the next chapter.
Pimcore’s thumbnail system – how does it work?
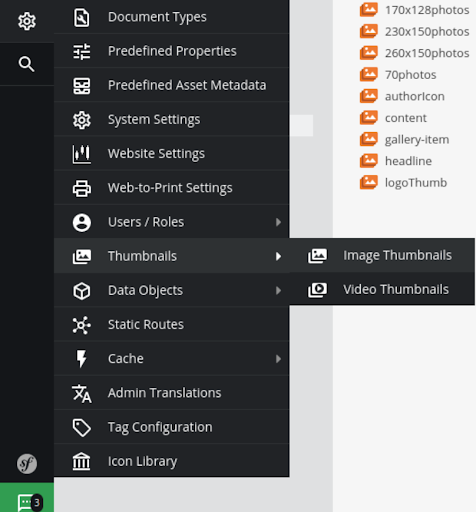
We use Pimcore thumbnails to execute image transformations to achieve wanted results. To start, you should create a thumbnail in Pimcore administration by clicking the cogwheel -> Thumbnails -> Image Thumbnails.
We will post again this image of a thumbnail.
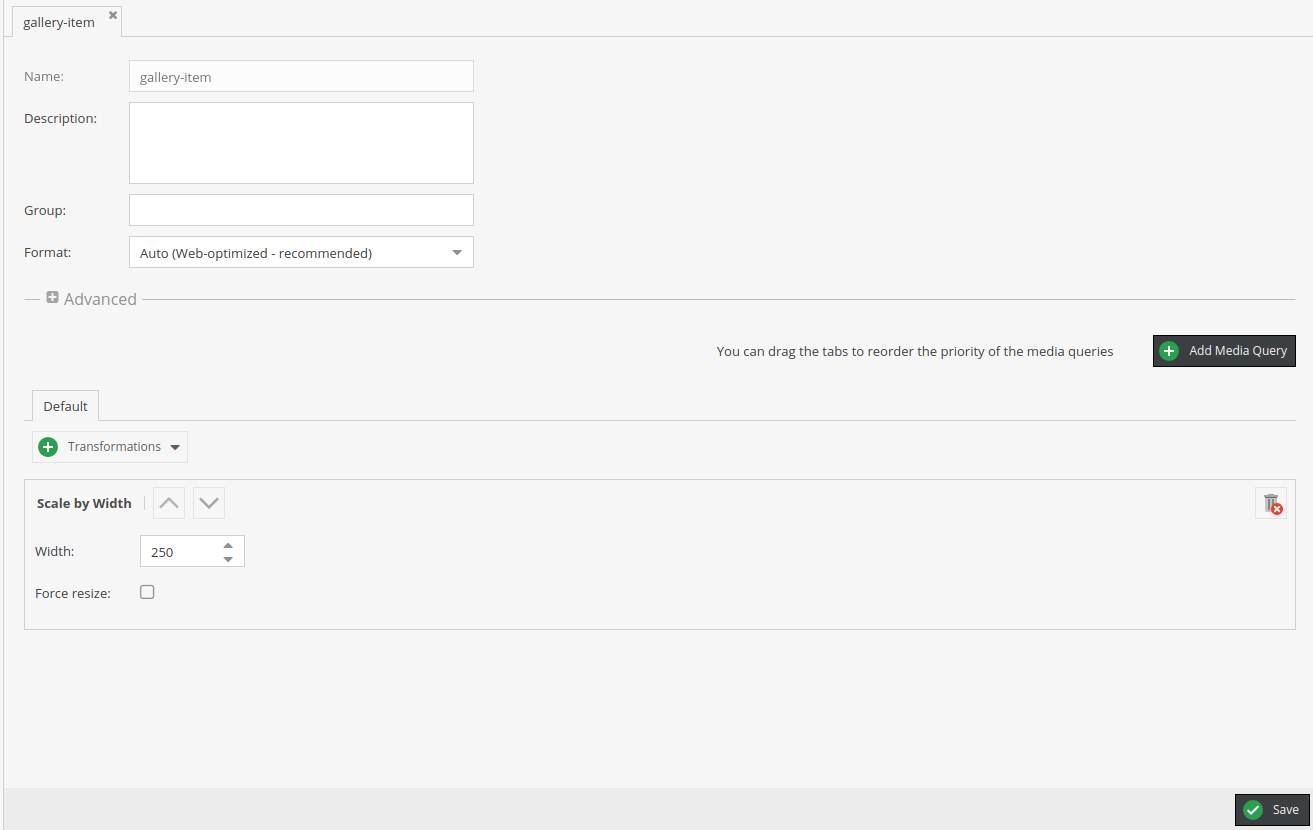
As you can see it starts with a name, followed by a description which can come pretty useful, especially when more developers are working on the same project. The group is the second option, this is used to group thumbnails so you can navigate more easily and you can choose format:
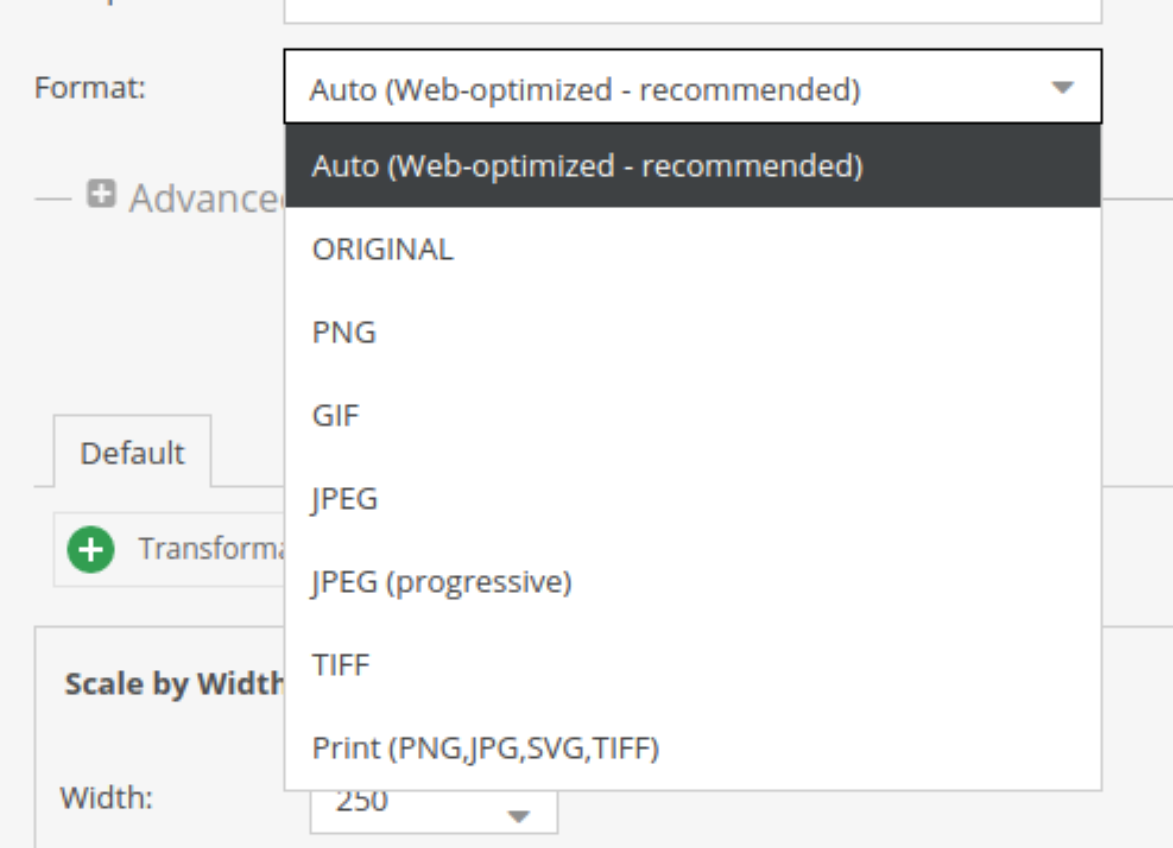
And it is best to leave it on Auto (Web-optimized – recommended). After this, we will check transformation options. There are quite a few of them, 22 to be precise.
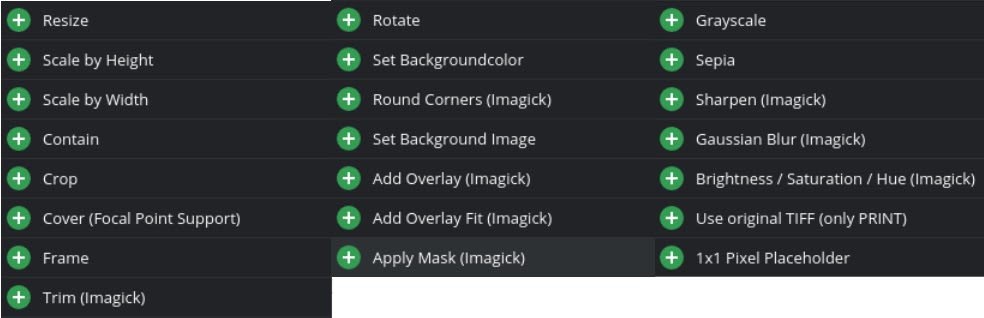
As seen above, Pimcore’s thumbnail system offers you a lot of options and possibilities. Because of this, we will cover just a few of these transformations, those which you are most likely to use. Just to point out, some options have “Imagick” in their name, which means that you must install Imagick in order to use them.
When using transformations, you can use more than one on an image. That is called an ‘image-pipeline’ system because all the transformations will be applied, starting from the top to the bottom, so the order is crucial.
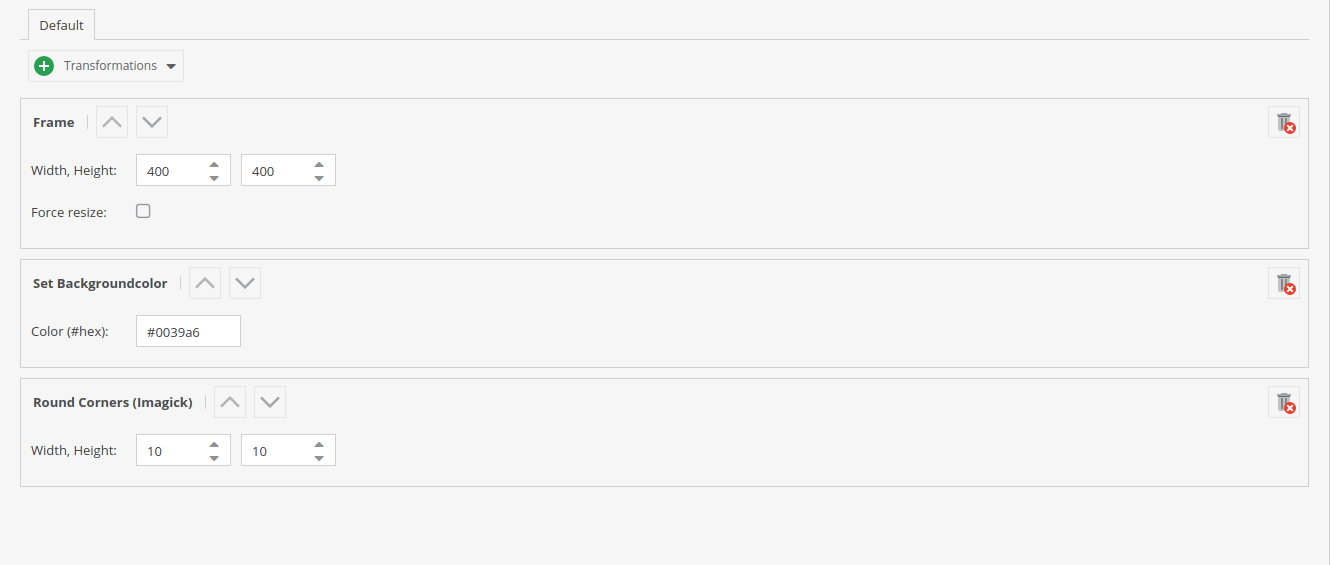
In this example, firstly we will frame our image in a frame 400px wide and high, and we’ll add the background color and rounded corners. In the second example, we will put corner rounding to the top so we can see the difference this order makes.

As you can see in the first example, we rounded the frame around the image and in the second example, the image inside the frame has rounded corners.
How to use Pimcore thumbnails in code
Next, we’ll show you how you can use thumbnails in code. We will have three examples. The first one will be just a normal image without transformations, the second will use a thumbnail defined in Pimcore administration and the third one will use a thumbnail written inline.
As you can see from this gist, first we retrieved the image as an asset and this part of the code usually goes inside the controller.
The first image is without a thumbnail, where we simply added width and height so it doesn’t take up the entire page. The second image is with the thumbnail defined inside Pimcore administration and the third with a thumbnail defined inline.
This is the result.
If you are using thumbnails inline, then you are limited to cropping transformations. Inline thumbnails are called dynamic configurations.
This code could be written with twig and then it would look like this.
We must admit, we like the look of this. If you look at the code gist, you will see getThumbnail() and getHTML(), which are the methods we can use. And there are a couple more of them:
– getWidth() -> to get width of an image
– getHeight() -> to get height of an image
– getPath() -> to get the path to the thumbnail
– getFIleExtension() -> to get the extension of the file.
With getHTML() we could have passed some parameters such as class, alt, data-something, etc.
How to create thumbnails using editables in Pimcore
Now, we’ll show you how to create thumbnails using editables in Pimcore. This is very useful when you want the ability to drop the image into an editable, and to have a certain thumbnail attached to it.
That could be used in the case of a logo and throughout this article/tutorial it has been used to display the Pimcore logo.
If you are not yet fully familiar with editables, you can check out our guide to Pimcore twig editables.
As you can see this was extremely simple to do. All we had to do was declare the Pimcore image editable, name it, and define the thumbnail, along with its name. Also, you could have used dynamic configuration for this thumbnail.
In Pimcore administration, you can expect to get something like this:
![]()
On the left image, you can see an empty editable. And on the right, it is populated and given a name that will be used as alt and title property on img tag.
Picture tag
The picture tag allows us to set source srcset attributes to load different images that will better suit the screen where content is being shown on. Its biggest use is with media attributes for the screen width.
We can do this in the Advance panel on a certain thumbnail.

In order to use it, you should check “Force <picture> HTML tag” and that will force a picture tag. In HTML it will look like this:

The first source is in WebP format, followed by the source in JPG format. And the third option is the usual img tag using JPG format in case your browser does not support source.
This way, we cover multiple cases and increase redundancy. If you look in the srcset inside the source tag, you can see a link to an image followed by 1x, then another image link followed by 2x.
This allows us to load images for users that have screens with larger pixel density.
Using Media queries
Through Pimcore administration, we can use media queries to further optimize displayed images.
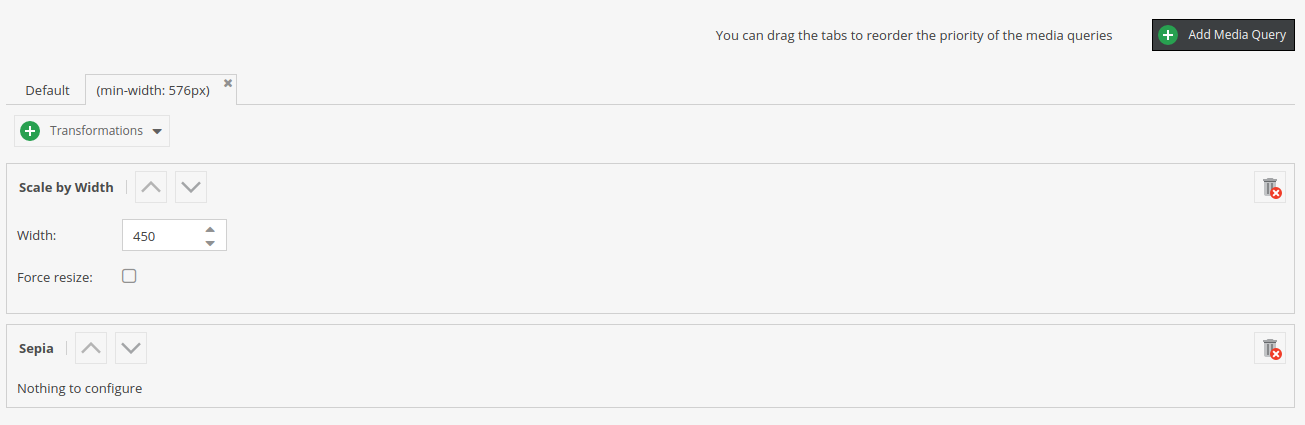
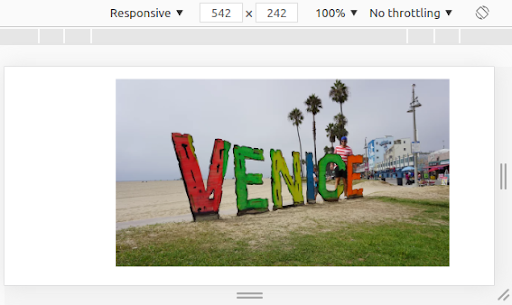
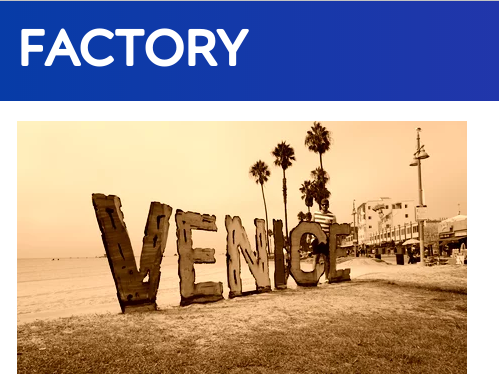
This allows you to change transformations based on the screen width. In this example, the sepia filter will be applied to the image if the screen is wider or equal to 576px. And if that is not the case, our default transformation that only scales the image will be applied.
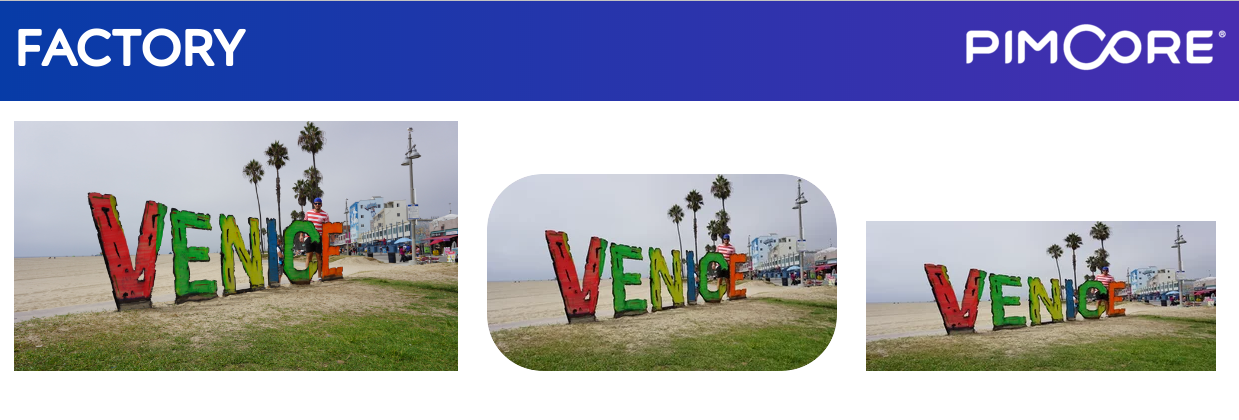
And for the end, we have left the Cover (Focal Point Support) transformation which allows you to Set Focal Point. This is easiest to show on an example so let’s go that way.
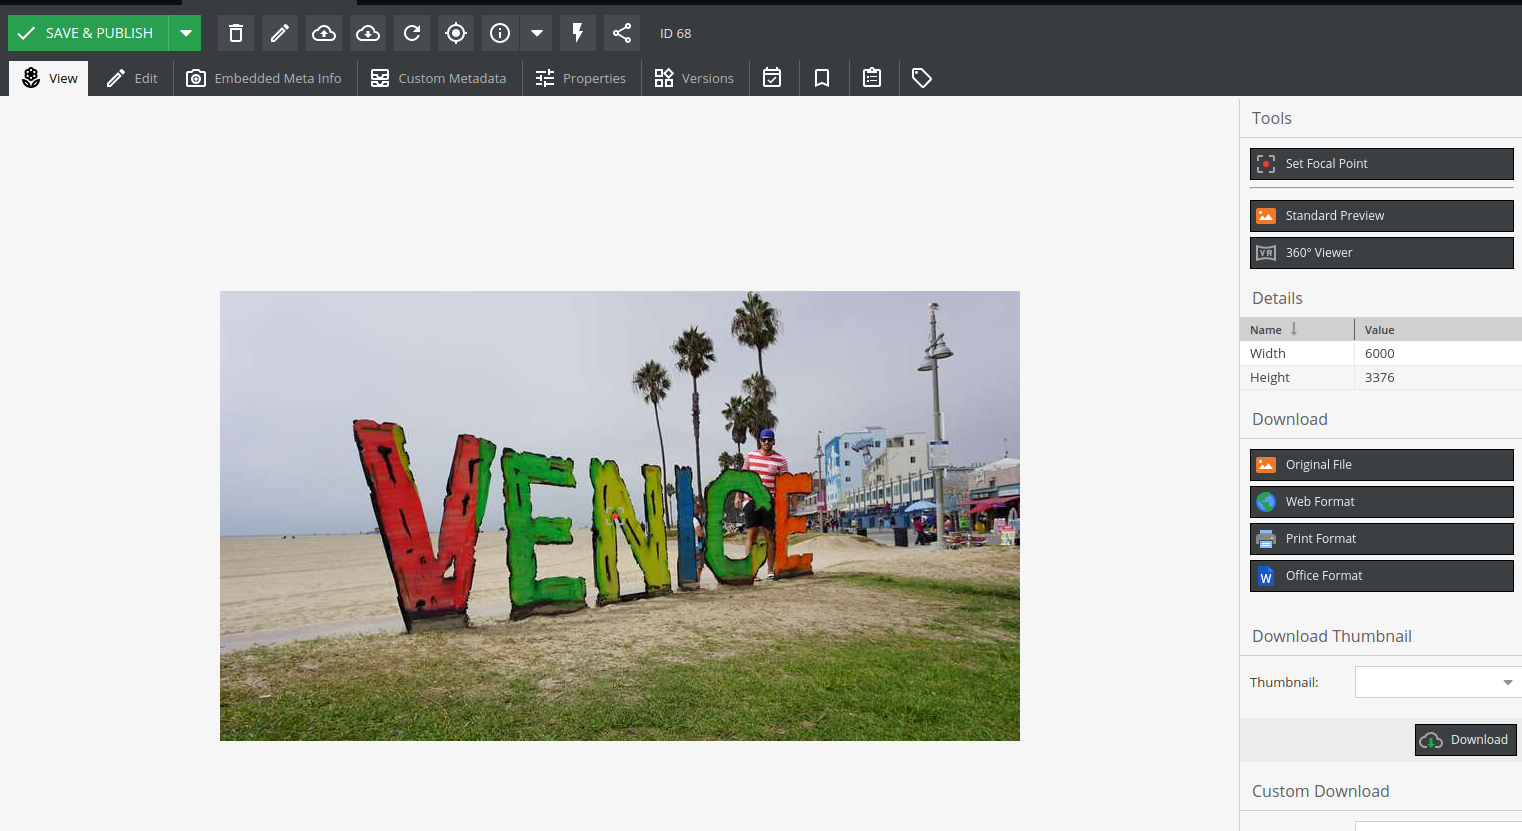
We’ll open this “Venice” photo in administration, in the upper right corner we’ll click on “Set Focal Point” and you will see a crosshair in the center. In this case, it is on letter N. We’ll move it to letter V so it will be easier to see it in action.
Hit “Save & Publish” and go to the thumbnail this image is using. Add Cover transformation and give it some width and length. We went with 400, 400 and we set the default positioning to center. This is the result.

Because we set the focal point to be on letter V, during rendering that will be taken as a center, because otherwise it might be lost in the crop process.
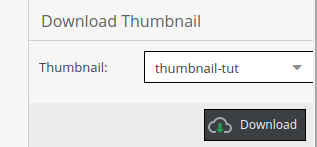
Last hint – you can download the thumbnail if you open your image in administration, select thumbnail, and hit “Download”.
Before that, make sure to check this in the thumbnail you would like to use:

And hit “Save”.
Learn more about Pimcore’s thumbnail system!
We’ve reached the end of this article, but there is more to learn about Pimcore’s thumbnail system and all of its advantages. Our Pimcore developers went even more in-depth in one of our videos and covered almost everything you may ask regarding Pimcore’s thumbnail system! The video will serve you as a great addition to this article – and if you’re looking to learn more about Pimcore thumbnails, that’s exactly what you’ll need.
If this article served you well, please let us know at [email protected]!
And if you’re looking for guides and articles on how to use Pimcore and its features – you’ll find everything you need in our Pimcore knowledge base!
And if you’re looking for help with your next project, our Pimcore development experts are always happy to provide a helping hand! We’re a certified Pimcore Gold partner with a proven track record of successful Pimcore projects! Whatever you need, we can build! Feel free to contact us anytime!