PayPal recurring payment for a single item
Let’s start learning how can PayPal make your development process easier
PayPal is an online payment provider that performs online money transfers and payment processing for online vendors, auction sites and other commercial uses. It’s definitely one of the most popular payment gateways out on the market today.PayPal will have over 1.5 billion transactions in the last quarter of 2016 and has almost 200 billion active accounts, so it’s no wonder why people consider PayPal as a standard payment gateway and trust it with their money.
Although digital products are still dwarfed by the physical products in terms of pure revenue, people fail to realize that it’s a fast-growing market and all segments aren’t showing signs of slowing down. It’s a market of 120 billion US dollars and expected to hit 200 by the year 2020.
source: Statista.com
It’s no wonder why the world of online payment providers has seen a radical change and a burst in competition. PayPal has handled that pressure very well and has aged with dignity since we are talking about a product that is 18 years old.
In this tutorial, we are going to focus on single digital products, like e-books, online courses, and saas products and on recurring payments which are becoming more and more popular in that particular community.
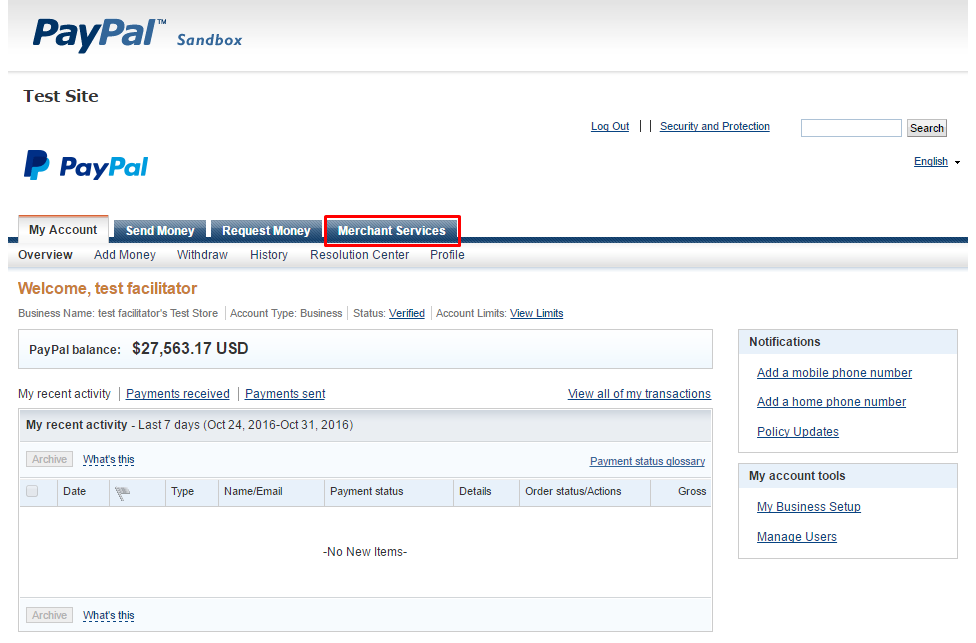
Create Accounts
To start with PayPal integration you first need to have an account. You can create one on the following link (please note that you must have a business account in order to receive payments ).
Official documentation: Paypal.com
We are going to use PayPal’s excellent sandbox environment for all testing and development purposes, so you’ll need to have two more accounts that are linked with your primary one. Those are personal and business sandbox accounts. You can create them here.
Business account is used to create the item you are selling, and personal is for making test transactions towards the facilitator.
After you have done it, it should look similar to this. Note that you can login now with these accounts in Sandbox Paypal.
Now it’s time to create the buttons for the item you are selling.
This is the main dashboard you are going to see after you login with your business account. If you have only one item you wish to sell on your website it will be enough to follow the form and use the PayPal wizard to create a button and paste it into the desired place. If you wish to have more control over your items then you’ll need to know some basic HTML and PHP.
Building the form
PayPal recommends that we should use their form with predefined attributes for our item, and their documentation can be found on the following link.
Official documentation: Paypal.com
If you read the documentation carefully you’ll find that for each item you’ll need to have a separate form tag with correct action and method. This form will look something like:
Note that the form is currently sending data to the sandbox environment.
The default form consist of several input tags that are used to send data to PayPal servers. Those input tags look like:
All input tags are hidden from the user and use the name attribute to define what are they for and value attribute to send the corresponding value.
First we need to set what kind of payment option we want to incorporate into our website. Although PayPal offers several types of payment options and all of them are quite similar and well documented, in this tutorial we are going to stick with our recurring or payment in “Installments”. For that we use the “cmd” name in our hidden input field and set the value to “_xclick-payment-plan”.
Next we want to specify a return URL and a notify URL. Why is that important? Well return url is important because you will specify there where should the user be taken after he completes the payment. It’s considered a good practice if the user ends up on a thank you page. Notify URL is much more important because PayPal will send an instant payment notification there once the payment has been completed. Since this is a huge topic I will not spend much time breaking down the functionality on how to handle payment notification, but if you are interested in finding out more, you can do that on the following link:
Official documentation: Paypal.com
Another important input variable is your business account. It will associate the button to your PayPal account. In other words the money goes on that account. It can be specified very easy like this:
Now it’s time to specify the details about your item. There are really many options you can specify, from the name of the item to any type of discounts and coupon codes and for those I really recommend you carefully read the documentation on the following link:
Official documentation: Paypal.com
For this demo we are going to use additional some of those variables in order to pass information about our item
Specify the installments options
Specific to the installment form we can find six input fields where we specify the details for recurring payments. Those are:
The first input is called a3. Note that this field can be a1, a2 and a3. If you want to have a free trial period you will use a1 field with the value 0, if you want to have a discounted trial period you will specify the name as a2 and the respective amount in the value attribute, and if you want the full amount then use name a3 with the full amount in the value attribute.
The second input is called p3. Note that this field can be p1, p2 and p3. If you choose a1 as the first field then you’ll need to have p1 input field and specify an integer value in the allowable range for the units of duration that you specify with t1. Same logic applies for p2 and p3.
In t3 you specify regular subscription units of duration. If you use t1 and t2 you will specify trial period duration. Allowable values are:
D — for days; allowable range for p3 is 1 to 90
W — for weeks; allowable range for p3 is 1 to 52
M — for months; allowable range for p3 is 1 to 24
Y — for years; allowable range for p3 is 1 to 5
In src input type you specify recurring payments. Subscription payments recur unless subscribers cancel their subscriptions before the end of the current billing cycle or you limit the number of times that payments recur with the value that you specify for srt.
Allowable values are:
0 — subscription payments do not recur
1 — subscription payments recur
The default is 0.
In srt input type you specify recurring times or number of times that subscription payments recur. Specify an integer with a minimum value of 2 and a maximum value of 52. Valid only if you specify src=”1″.
Completing the form
The final form should look something like this:
You can paste this form in any HTML page or WordPress post and in theory, you should be able to get payments from your customers for that one particular item. In the form above you can see that we’ll get 12 monthly payments of 179 USD. For each payment, notify_url will be called, and after the payment is completed the first time, the user will be redirected to that return_url which can be a thank you page.
I must note that any logic that can potentially happen after the payment process should be in that notify_url page. There you can create your own logic like storing payments in your own Database, or handling the users after they pay for something.
I hope that this article will help you in developing your own PayPal installment buttons.