Multi language transition into Pimcore
What you'll learn with this guide
With this guide, we’ll get to know Pimcore’s localization and multi-language approach with some examples of how actually easy it is to use.
Where to use
Do you have users from different speaking areas and wondered if you can set up a multi-language site on Pimcore? Wonder no further. We’re gonna dig a bit further to see exactly how is this possible in Pimcore and what does it take to make your web page multi-language.
We’re not gonna get into the technical part of localization, Pimcore takes care of that and makes it really easy and accessible for users and developers. Pimcore has different languages/locales set up for the backend or CMS and frontend, the website your users are gonna visit. Because of the fact that these two are in different contexts, Pimcore allows for different user interface locales for users who handle the content in the Admin interface, pretty sweet.
Solution
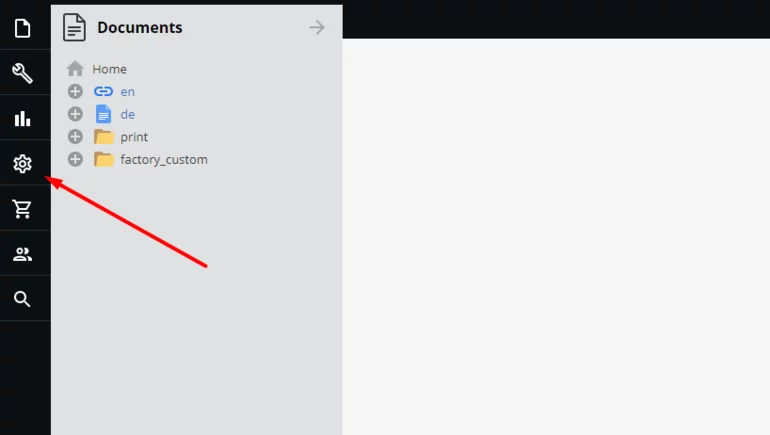
For starters, we can go into our Admin interface and pay attention to the left sidebar (don’t worry if you have more icons than the image below, that doesn’t matter in this guide), by hovering over every icon you’ll see their name and where they lead to, of course.

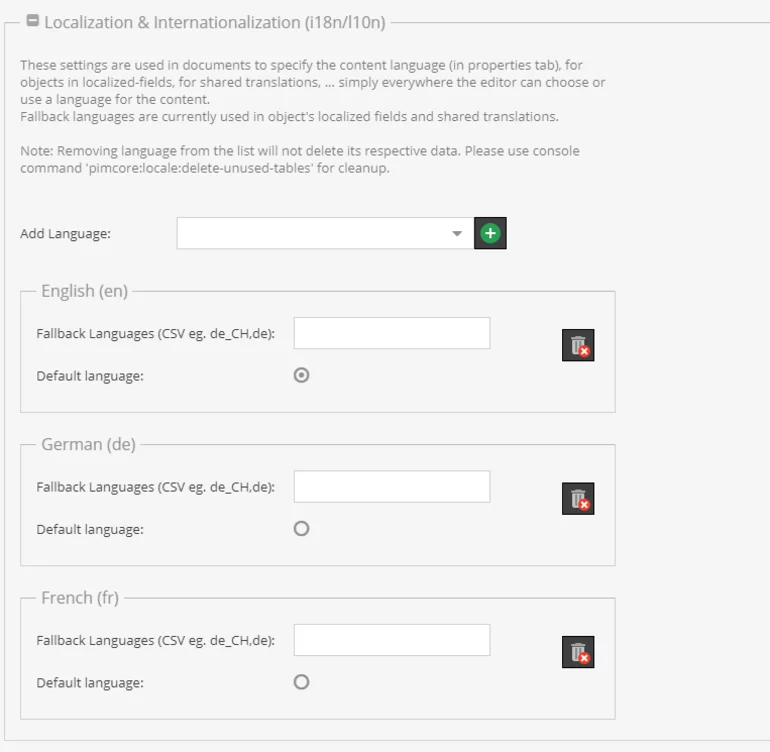
Follow Settings > System Settings > Localization & Internationalization (i18n/l10n) and configure available languages for your project. You can add languages, pick the default one and even add fallback languages in case a value for a string wasn’t defined for that particular language.

Localizing your documents is also pretty straightforward. Under the Navigation & Properties tab on your document, on the far right, you have the possibility to choose a language for your document which then will be inherited by all of its children, which means that changing the language on a parent document is enough setup for all your additional pages and snippets you eventually add.

Afterward, the language you have set is saved as a property on the document which you easily access like every other property and that, on the frontend looks something like this:
Since you have now set up a language for your document, you can start using Pimcore translate helpers which are based on the standard Symfony translator.
After setting up that we are now able to write translatable strings inside the template that you’re going to use for the localized page, and to try out you can simply write something like this:
Notice the trans filter we used here, it is key for using translations inside your templates, by doing this Pimcore will now know to look up translations for this string for the language we specified on the document (or a fallback if there isn’t a translated value). Now you may wonder, how do we change the translated value for each language? Glad you asked.
Going back to our Admin interface we can open our Shared Translations which are found by following Tools > Translation > Shared Translations.

This interface shows us all the translation strings we used in the project and it represents a unified place for editors to come and change something if needed. Some notes about Shared Translations; keys for translations are case sensitive and it is possible to import or export translations to a CSV file.
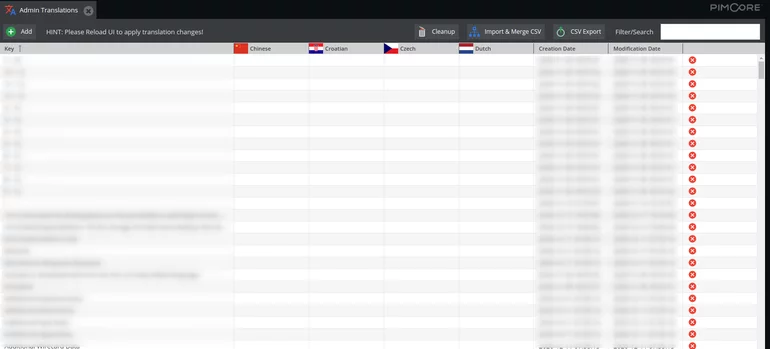
As I’ve mentioned before, you can also add translations to the backend of your application, so components like object class names, object field names, custom views, etc. can all be translated by going into Admin Translations which are under Settings > Admin Translations.

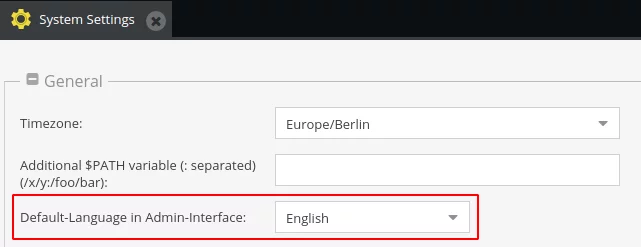
The interface is very familiar to Shared Translations and everything functions the same. If you however want to change the default language of the Admin interface, you can do so by going into Settings > System Settings > General.

As we can see, using translations in Pimcore is fairly simple and if you are hungry for more knowledge I recommend visiting the official documentation from the Pimcore team themselves.
Does it work?
The simplest way to test this is to follow the tutorial and try it out yourself!