Email marketing in Pimcore
What you’ll learn with this guide
This guide will show you how to use Pimcore’s email marketing capabilities in order to connect with your customers and newsletter subscribers. The guide is completely straightforward, as the process behind email marketing in Pimcore is quick and easy to execute.
The first step is to create a newsletter
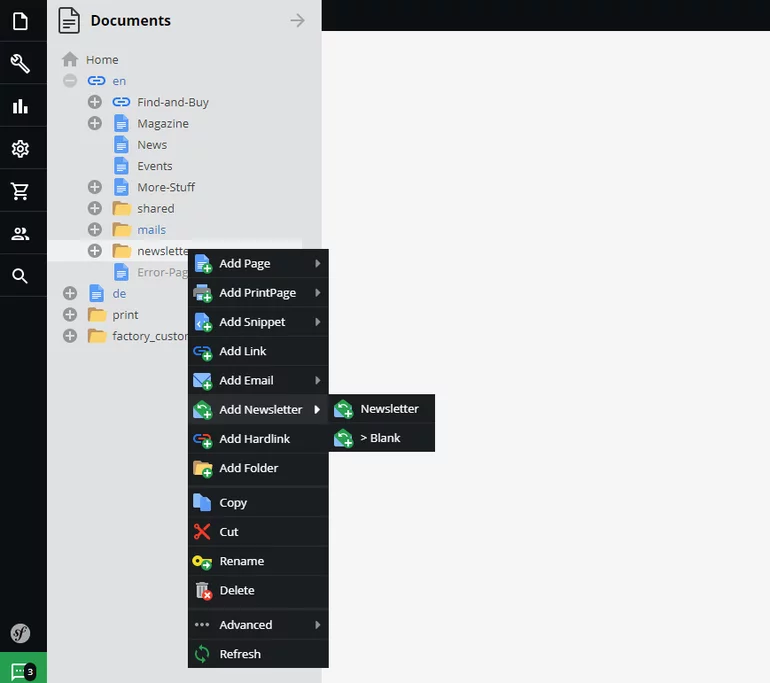
When opening up the Pimcore dashboard, make sure that you’re viewing the Documents tab. Right click on a folder where you want to create your newsletter and select “Add Newsletter” and click on “Newsletter” again.
After naming your newsletter, you should see something like this on the image below. By clicking on the “plus” button in the upper left or in the middle of the screen, you’ll be able to expand your newsletter by 4 different content frames.
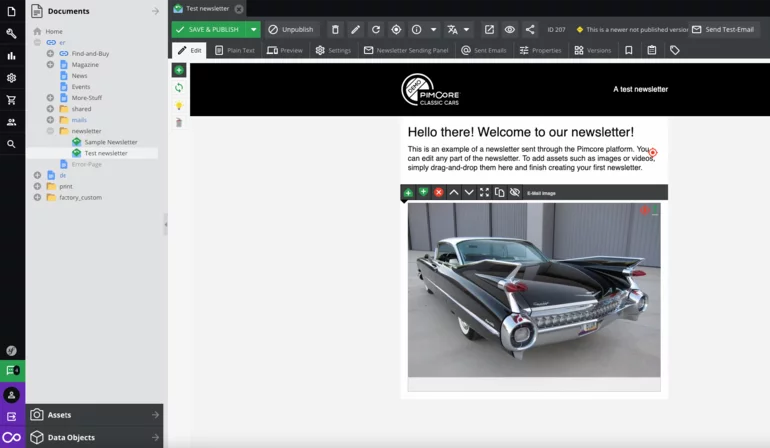
We’ve decided to add the “E-mail image” and we’ve dragged-and-dropped the image from the Assets tab. On the top bar, you can use the “Preview” option any time to see how your email is going to look like to a subscriber.
Next, when opening the “Settings” tab, you’ll see a lot of input fields. First, you need to define the subject of the email, how the sender is going to be displayed, and define if every mail is to be rendered individually or only once.
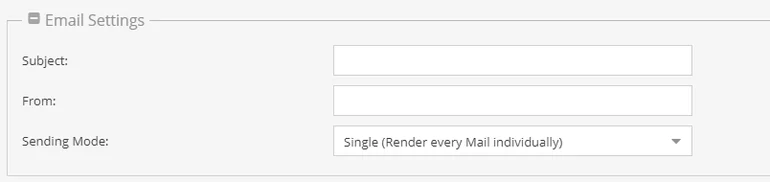
After setting these basic settings, you’re able to instantly set the tracking parameters to links in the mail! Be sure to know how and where are your website visitors coming from! Pimcore enables you to define it in seconds.
![]()
Defining the recipients of the newsletter
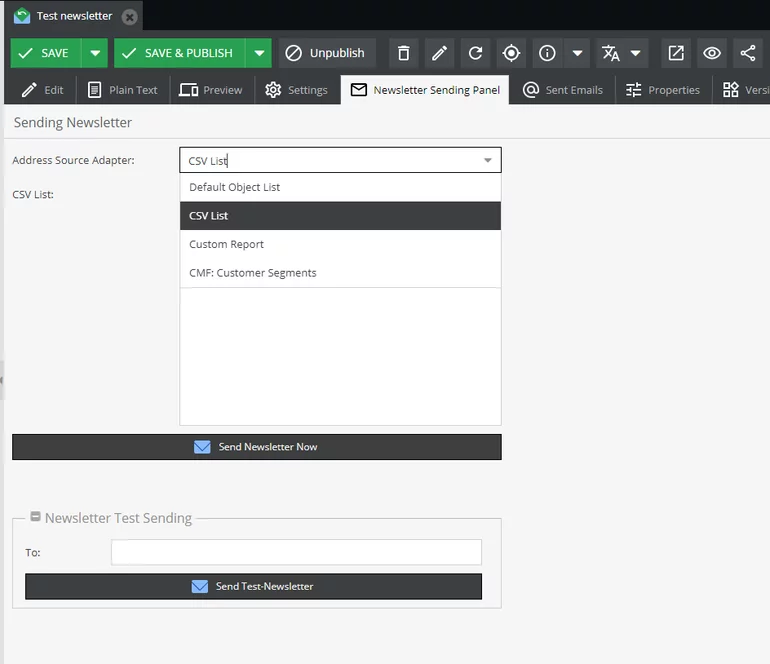
Now, we need to define who are we sending the newsletter to. In the “Newsletter Sending Panel” tab, you can define exactly that. Click on Address Source Adapter and choose which source you want to gather information from.
We can choose from 4 different data sources, each having its benefits:
- CSV list (we can upload our own list of contacts)
- Default object list (we can choose a specific data object, such as a specific customer group or one customer)
- Custom report (we can upload contacts from specific custom reports)
- CMF: Customer Segments (we can choose to send the newsletter to one or more different customer segments)
For this example, we’ve decided to choose a specific customer segment we’ll be sending this newsletter to. To select a certain segment, simply drag-and-drop it from the Data Objects tab.
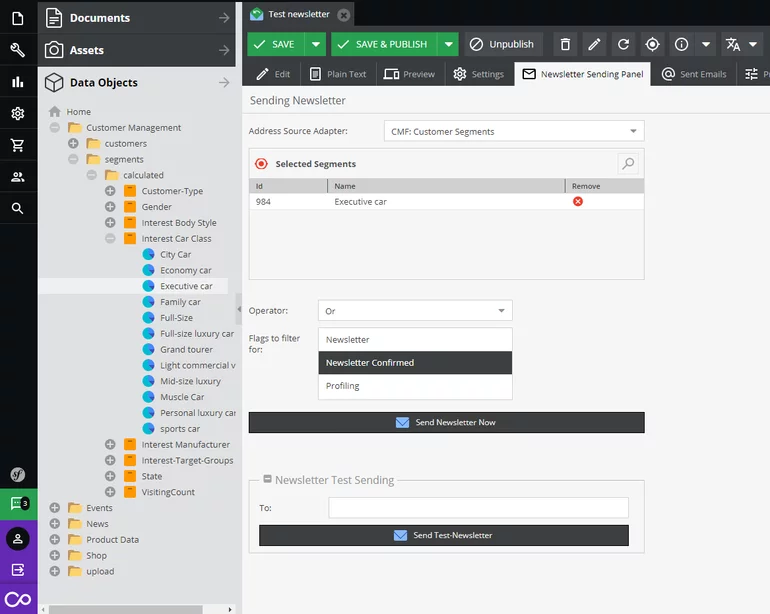
After you’ve set everything in the Newsletter Sending Panel, click on “Send Newsletter Now” and your newsletter is sent! Also, you can test it out before sending it to a number of recipients. All of your sent emails will be visible in the Sent Emails tab.
Sending newsletters in Pimcore is simple and easy, and thanks to its drag-and-drop feature, you can create any kind of newsletter you want.