How to create custom condition inside pricing rules
What you'll learn with this guide
In this short Pimcore guide, you'll learn how to set any custom condition inside Pimcore's pricing rules to fully adapt to any eCommerce need.
Where to use?
If you're looking to create new conditions upon which the prices change for every single customer, you'll find this guide useful. With custom conditions, you have complete control over changes in pricing for every single customer.
Solution
The pricing rules and conditions are defined in yml file on pimcore_ecommerce_framework inside pricing_manager.
Default pricing rules and conditions are defined like this:
Creating a new pricing rule condition
In this example, we are going to create min weight condition.
Step 1
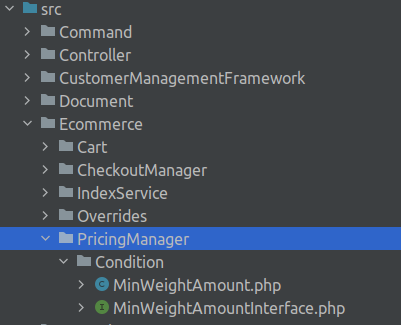
Create new directories in the 'src' directory
src/Eccomerce/PricingManager/Condition
Step 2
Inside of that folder create 2 new files:
- MinWeightAmountInterface.php
- MinWeightAmount.php
Step 3
Now open MinWeightInterface.php
The most important thing is that our class implements ConditionInterface from Pimcore.
Since we created our interface for the MinWeightAmount class, we are going to extend Pimcore's ConditionInterface.
Pimcore's ConditionInterface comes with 3 functions:
- check // This function is called by the Pimcore when checking if the condition is satisfied. And it expects boolean.
- toJson // Used for serializing data on the frontend, expects string.
- fromJson // Used for deserialize data for frontend. Expects ConditionInterface back.
We are going to define two additional functions in our interface:
- setLimit // sets min weight limit
- getLimit // returs min weight limit
Let's see our file now:
Now let's implement our worker class. We assumed here that each Product class will have a function called getWeight.
The most important function here is check. It will be called by the system upon checking all the conditions. There we iterated through all products in the cart and returned boolean if order weight is over the limit value which will be defined from the admin panel.
Now, we need to add our class to the config file, so let's do it:
Admin UI
To add special options to our admin UI, we need to add a new function to Pimcore conditions function.
Step 1
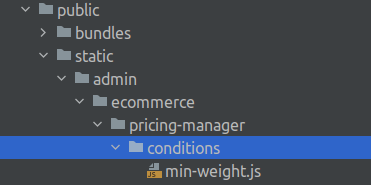
First, create a new directory.
public/static/admin/ecommerce/pricing-manager/conditions/min-weight.js
Step 2
Create a new file called min-weight.js
Step 3
Now we need to include our js file into admin. It should be pretty much easy and straightforward.
You can find more info in Pimcore's official documentation on loading assets in admin UI.
And now, we'll need to add a new event listener to config/services.yaml.
Create a new folder called EventListener and create a new class called: PimcoreAdminListener.php
Step 4
Now, let's go back to the min-weight.js and build a UI.
Explanation
The first line is the most important one. We are adding our condition as conditionMinWeightAmount is key to object conditions. We define its value as a function.
The function will be called to get the name (used for dropdown menu) and it will be called when creating UI.
So, the function returns either a title of the condition or UI as Ext.form.FormPanel
Data will automatically contain the limit value from our PHP class.
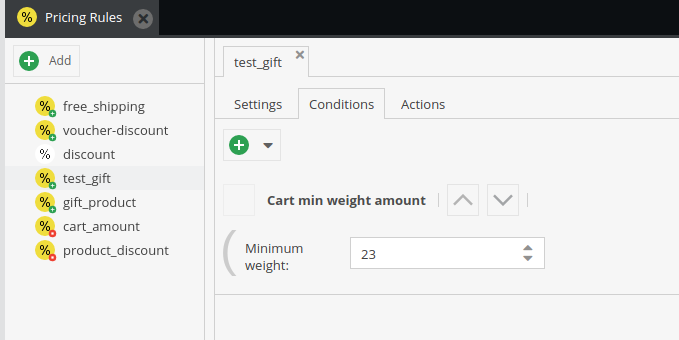
If we open the Pimcore admin now and create a new rule when we click the + icon inside the conditions tab, we should see at the bottom our newly created conditions inside the conditions tab.
Does it work?
If you've followed this guide closely, step by step, you should have no issue creating custom conditions inside Pimcore's pricing rules. However, if you're having any issues, feel free to reach out to us!